Detect a two-finger rotation gesture (screwing motion),
clockwise or counterclockwise.
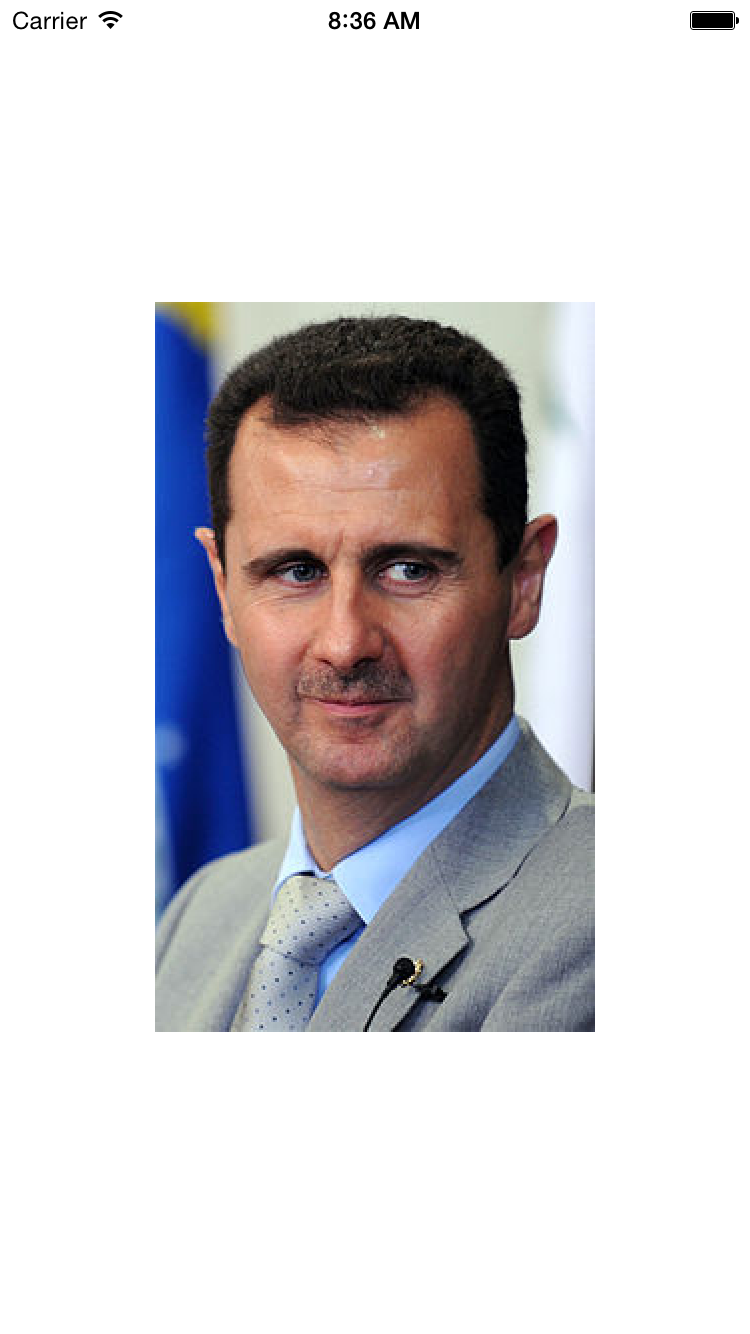
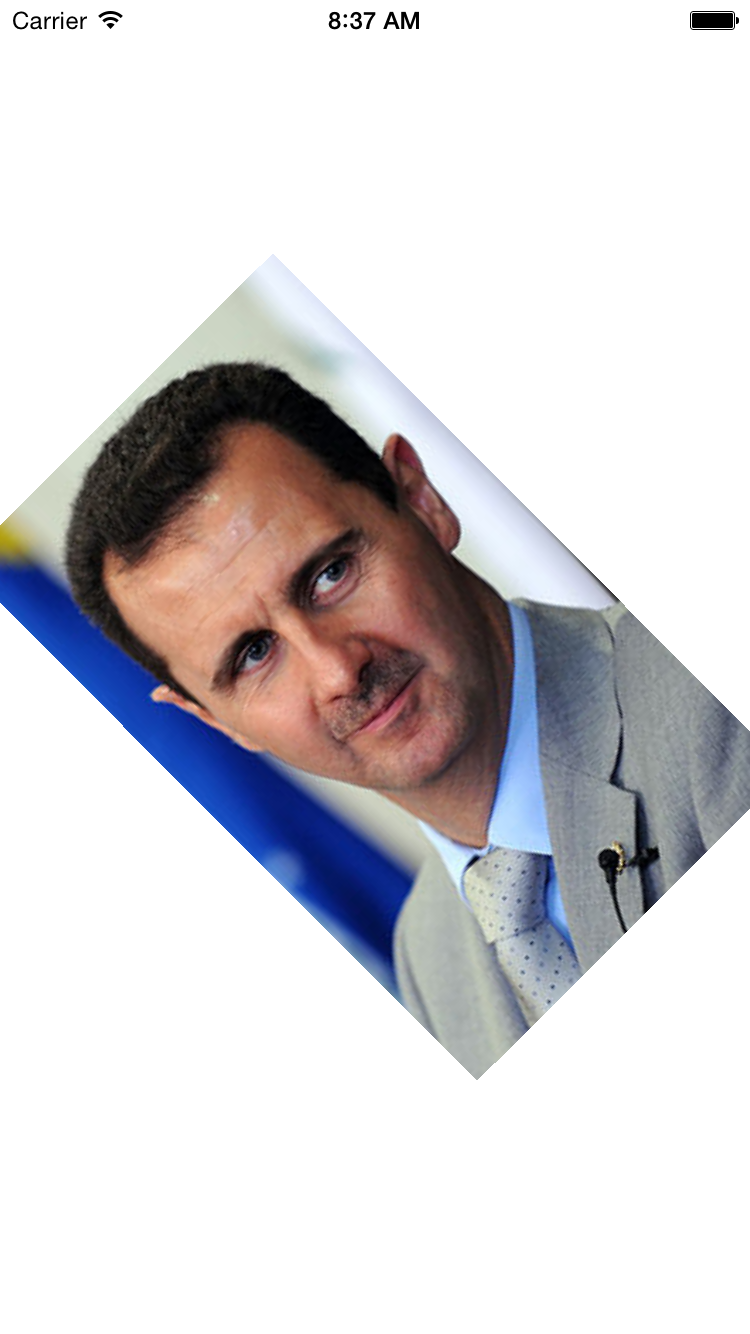
The above rotation is 45° counterclockwise,
keeping the
UIImageView
centered in the big white
View.
Since we are using a
UIRotationGestureRecognizer
(a subclass of
UIGestureRecognizer),
we do not need to turn on the
View’s
multipleTouchEnabled
property.
And since the gesture is being recognized by the
View,
not by the
UIImageView,
we do not need to turn on the
UIImageView’s
userInteractionEnabled
property,
as we did in
Pinch.
We saw the function
CGAffineTransformMakeRotation
and the
transform
property of class
UIView
in
Animate.
To simulate two fingers, press the option key as you drag on the simulator. To keep the distance between the fingers constant, hold down the shift key too.
AppDelegate:
unchanged.ViewController:
unchanged.
View:
added methods
init,
layoutSubviews,
and
rotate(recognizer:).
Images.xcassets,
an Xcode
asset catalog
file.
assad.imageset
Contents.json:
a
JSON
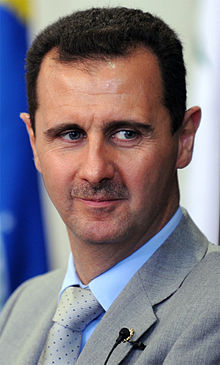
file listing the files belonging to the assad image set.assad.png:
one of the files belonging to the assad image set.
Apple prefers
.png
format.
220 × 365 pixels.
Save
assad.jpg
on your Desktop.
To convert it from jpg to png,
open it with the Preview application.
File → Export…
Format: PNG
Save
See
America
for instructions on how to add an image file to
Images.xcassets.
View
displaying the current rotation in degrees.
Add the following property to class
View:
let label: UILabel = UILabel();Insert the following after the call to
addSubview.
I would have preferred to pass the label’s
frame
as a parameter to the
init(frame:)
method of the label.
But I couldn’t do this because the label’s
init
has to be called before
super.init,
and the label’s frame has to be created after
super.init.
		label.font = UIFont(name: "Courier", size: 24);	//monospace
		let attributes: [NSObject: AnyObject] = [NSFontAttributeName: label.font];
		let size: CGSize = "-12345.6°".sizeWithAttributes(attributes);

		//Put the label in lower right corner of this View.
		label.frame = CGRectMake(
			bounds.origin.x + bounds.size.width - size.width,
			bounds.origin.y + bounds.size.height - size.height,
			size.width,
			size.height);

		label.backgroundColor = UIColor.yellowColor();
		label.textAlignment = NSTextAlignment.Right;
		label.autoresizingMask =
			UIViewAutoresizing.FlexibleLeftMargin | UIViewAutoresizing.FlexibleTopMargin;
		addSubview(label);
Insert the following after the call to
addGestureRecognizer(_:).
		//Display an initial value of 0 degrees in the label.
		rotate(recognizer);
Insert the following after creating the variable
degrees.
		//Display the degrees rounded to one digit to the right of the
		//decimal point.  The f stands for "float".
		label.text = NSString(format: "%.1f°", degrees);
The label’s
autoresizingMask
keeps it jammed into the lower right corner of the
View.
The distance between the right edge of the label and the right edge of the
View
remains fixed at zero.
If the
View
changes its width (e.g., during an orientation change),
only the distance betwen the
left
edge of the label and the left edge of the
View
is allowed to change.
I was hoping to use the
UIImageView’s
autoresizingMask
to keep the
UIImageView
centered in the
View
by giving the
UIImageView
flexible margins on all four sides.
But the combination of rotation and autoresizing squashed the photo horribly.
UIPanGestureRecognizer
to this app to let the user drag the picture as well as rotate it.
See the
concatenation
of two
CGAffineTransforms
in
Animate.