AppDelegate:
unchanged.ViewController:
unchanged.View:
added the
init
that takes an
NSCoder,
and
drawRect.
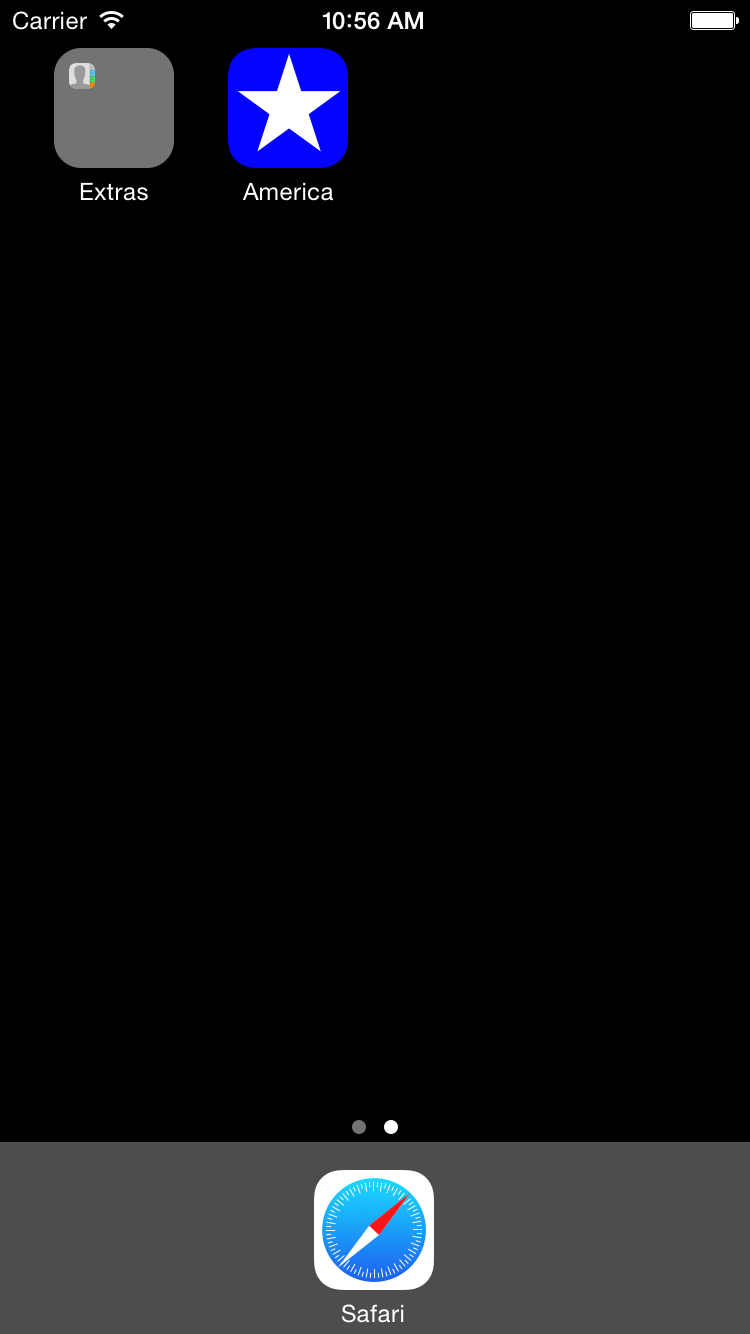
Images.xcassets,
an Xcode
asset catalog
file.
AppIcon.iconset
Contents.json:
a
JSON
file listing files belonging to the icon set.Icon60x60@2x.png:
one of the files belonging to the icon set.
120 × 120 pixels.
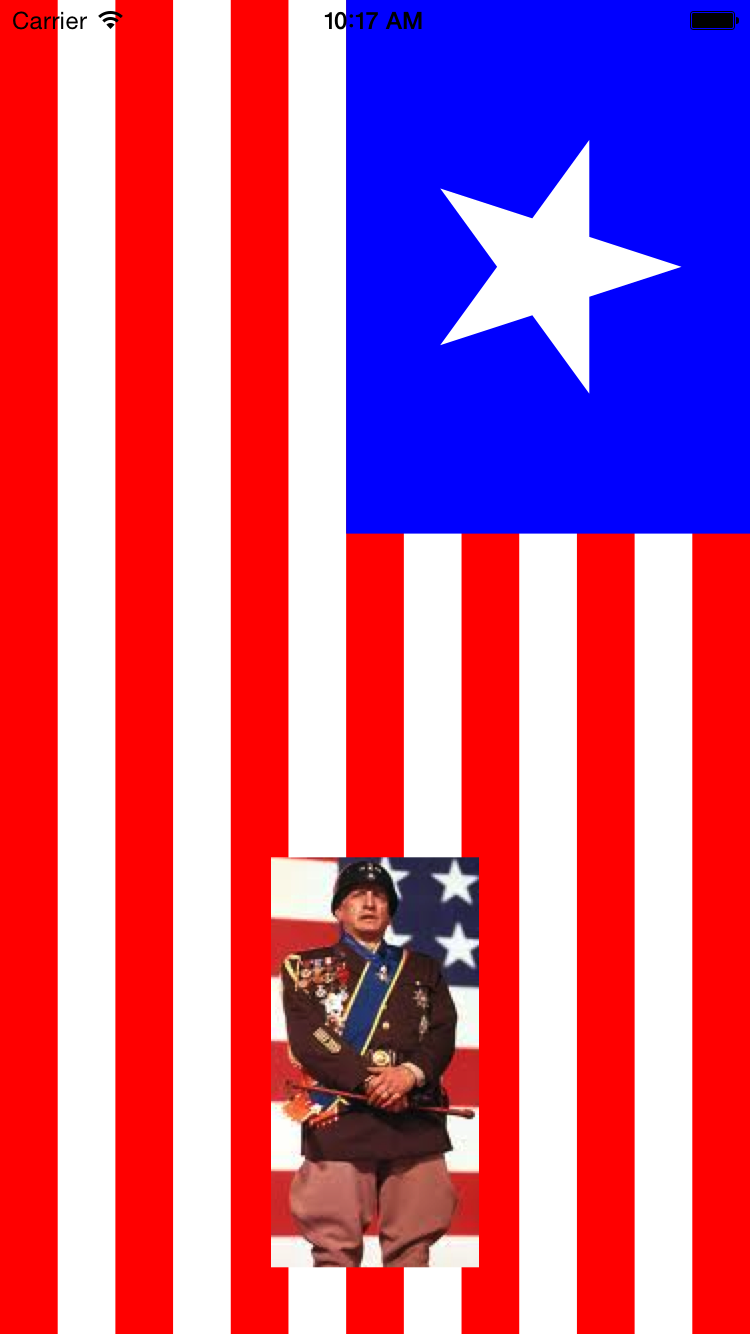
patton.imageset
Contents.json:
a
JSON
file listing the files belonging to the patton image set.patton.png:
one of the files belonging to the patton image set.
Apple prefers
.png
format.
104 × 205 pixels.
Copy the file
patton.png
to your Macintosh Desktop.
Select the
asset
catalog
file
Images.xcassetts
in the Xcode Project Navigator.
(In newer versions, it’s called Assets.xcassets.)
The left pane of the center panel is called the set list;
we used it in
Icon.
It should already contain a set named AppIcon.
Drag
patton.png
from your Desktop into the set list.
The set list should now contain two sets,
AppIcon and patton.
I should have created double-size and triple-size images of the photo and dragged them into the patton image set, but I wasn’t artistic enough to create them.
To create the icon file
Icon60x60@2x.png,
I saved a screen shot of the Simulator:
File → Save Screen Shot
Then I opened the screen shot with
Preview,
rotated it 90° counterclockwise,
and cut out a pretty 120 × 120 pixel square.
Maybe George C. Scott’s face would have been a better choice.
The view’s background color is white. We draw the red next, and the blue on top of that, so that all the stripes can be the same length.
We start the star with the vertex (point) pointing towards the right. In trigonometry, adding a positive number to an angle θ makes it go counterclockwise. But when we add a positive number to we go clockwise around the star, because our Y axis points down. If the Y axis pointed up, we would have gone counterclockwise.
A
UIImage
object holds the pixels of an image,
just as a
String
object holds the characters of a string.
We can
draw
a
UIImage
at a
point
just as we
drew
a
String
at a
point
in
Hello.
for
loop.
In the
drawRect(_:)
method of class
View,
change
	//seven red stripes
	CGContextAddRect(c, CGRectMake( 0 * w / 13, 0, w / 13, h));
	CGContextAddRect(c, CGRectMake( 2 * w / 13, 0, w / 13, h));
	CGContextAddRect(c, CGRectMake( 4 * w / 13, 0, w / 13, h));
	CGContextAddRect(c, CGRectMake( 6 * w / 13, 0, w / 13, h));
	CGContextAddRect(c, CGRectMake( 8 * w / 13, 0, w / 13, h));
	CGContextAddRect(c, CGRectMake(10 * w / 13, 0, w / 13, h));
	CGContextAddRect(c, CGRectMake(12 * w / 13, 0, w / 13, h));
to
	for var i = 0; i <= 12; i = i + 2 {
		CGContextAddRect(c, CGRectMake(CGFloat(i) * w / 13, 0, w / 13, h));
	}
You can also telescope the
i = i + 2i += 2.CGContextAddRect
into two statements?
	for var i = 0; i <= 12; i += 2 {
		let r: CGRect = CGRectMake(CGFloat(i) * w / 13, 0, w / 13, h);
		CGContextAddRect(c, r);
	}
for
loop.
In the
drawRect(_:)
method of class
View,
change
		var theta: CGFloat = 0;		//Start with the vertex pointing to right.
		CGContextMoveToPoint(c,
			center.x + radius * cos(theta),
			center.y + radius * sin(theta));

		//means theta = theta + angle;
		theta += angle;		//vertex pointing to lower left
		CGContextAddLineToPoint(c,
			center.x + radius * cos(theta),
			center.y + radius * sin(theta));

		theta += angle;		//vertex pointing to upper right
		CGContextAddLineToPoint(c,
			center.x + radius * cos(theta),
			center.y + radius * sin(theta));

		theta += angle;		//vertex pointing to lower right
		CGContextAddLineToPoint(c,
			center.x + radius * cos(theta),
			center.y + radius * sin(theta));

		theta += angle;		//vertex pointing to upper left
		CGContextAddLineToPoint(c,
			center.x + radius * cos(theta),
			center.y + radius * sin(theta));
to the following. You could telescope the
i = i + 2i += 2.for var i = 0; i <= 10; i = i + 2 { var theta: CGFloat = CGFloat(GLKMathDegreesToRadians(360 * Float(i) / 5)); let x: CGFloat = center.x + radius * cos(theta); let y: CGFloat = center.y + radius * sin(theta); if i == 0 { CGContextMoveToPoint(c, x, y); } else { CGContextAddLineToPoint(c, x, y); } }
Sine.)