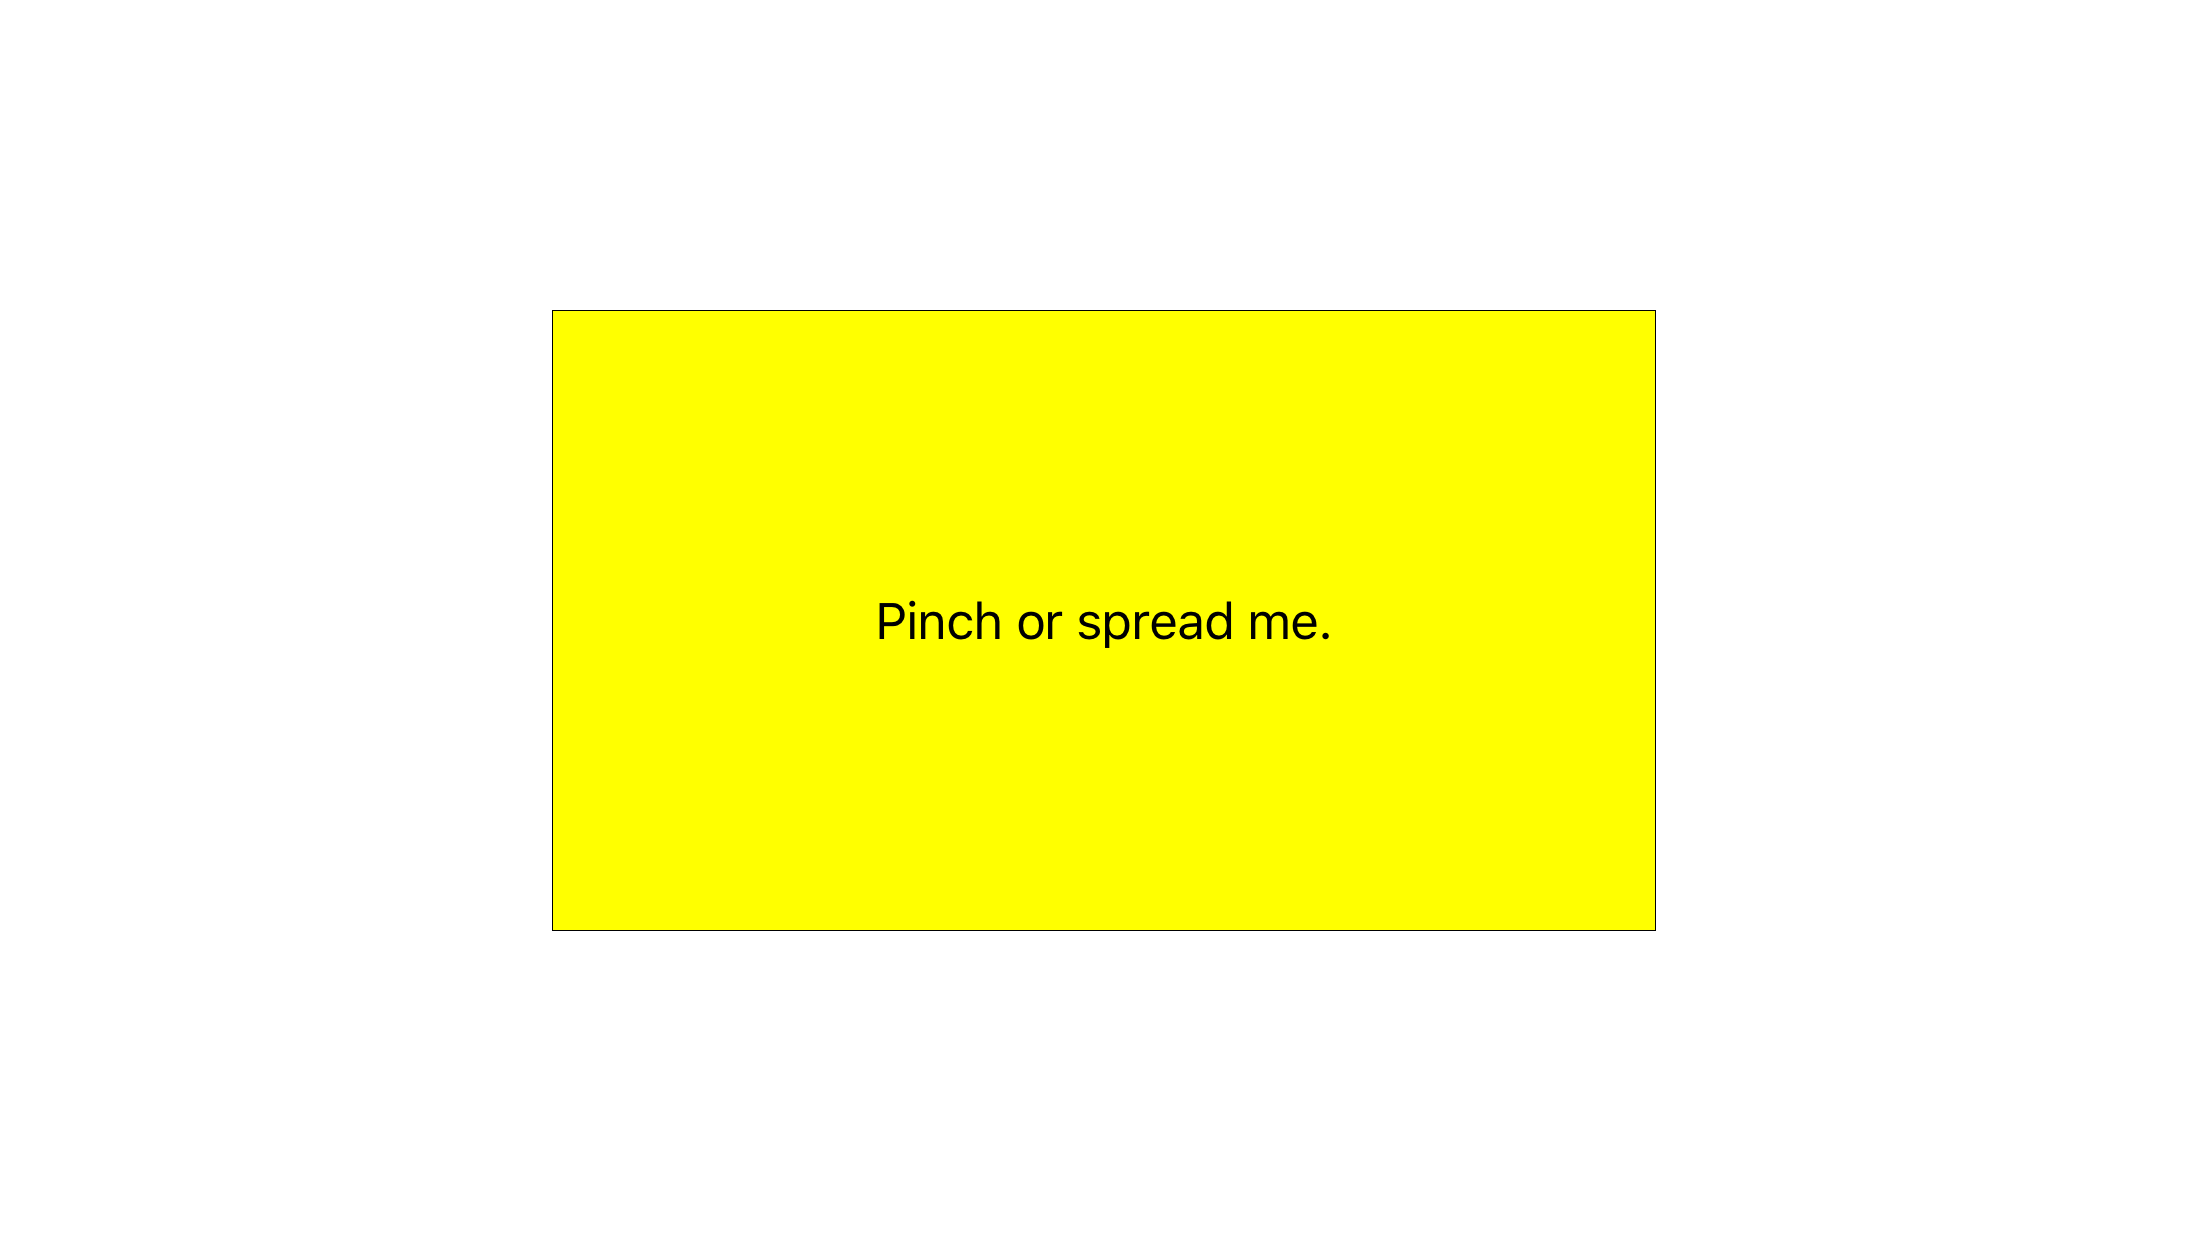

Detect a two-finger pinch or spread.
Since we are using a
UIPinchGestureRecognizer
(a subclass of
UIGestureRecognizer),
we do not need to turn on the big white view’s
multipleTouchEnabled
property or the yellow label’s
userInteractionEnabled
property.
To simulate two fingers,
press the Mac option key as you drag on the simulator.
To keep the distance between the fingers constant,
hold down the shift key too.
The big white
View
has two subviews: a variable-size yellow
UILabel,
and a fixed-size bordered
UIView.
The
init(coder:)
method of the
View
centers these subviews in the big white
View
and gives them dimensions which are half of those of the big white
View.
The dimensions of the big white
View
are 600 × 600 points when its
init(coder:)
method is called,
but these dimensions will change before the
View
is displayed on the screen.
They also change whenever the orientation of the device changes.
When the dimensions change,
the
autoresizingMask
property of each subview ensures that each subview will remain
centered in the big white
View,
and ensures that the size of each subview will remain the same fraction
of the size of the big white
View.
- Class
AppDelegate:
unchanged.
- Class
ViewController:
unchanged.
- Class
View:
added methods
init(coder:)
and
pinch(_:).
Main.storyboard:
the
View
is initially 600 × 600 points.
Assets.xcassets,
an
asset
catalog
file.
Can hold icons.
Will hold the image file in the Assad exercise.
AppIcon.appiconset
Contents.json
Info.plist
Create the project
Class
View
is a subclass of class
UIView.
Things to try
-
Comment out the assignments to the
autoresizingMasks.
Why are the subviews now exactly square?
Then comment them back in.
-
You can shorten
NSTextAlignment.Center
to
.Center,
UIViewAutoresizing.FlexibleLeftMargin
to
.FlexibleLeftMargin,
UIGestureRecognizerState.Began
to
.Began,
etc.
See
“a shorter dot syntax”
in
Enumeration
Syntax.
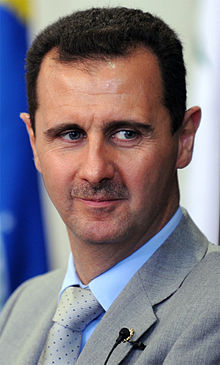
- Pinch
Bashar al-Assad.
Save the file
assad.jpg
on your Desktop.
To convert it from jpg to png,
open it with the Preview application.
File → Export…
Export As: assad.png
Format: PNG
Save
Then add it to the
Assets.xcassets
file of the project as we did in
America.
A
UIImageView
is a
UIView
specialized for displaying one image,
just as a
UILabel
is a
UIView
specialized for displaying one line of text.
The image displayed in a
UIImageView
is a
UIImage
object
(see
America),
and the line of text displayed in a
UILabel
is a
String
object.
Do not
add
the two existing subviews to the
View.
Add the following property to class
View.
let imageView: UIImageView = UIImageView(image: UIImage(named: "assad.png")!);
In the
init
method of class
View,
you only have to do three things to the
imageView:
		imageView.center = center;

		imageView.autoresizingMask = [
			UIViewAutoresizing.FlexibleLeftMargin,
			UIViewAutoresizing.FlexibleRightMargin,
			UIViewAutoresizing.FlexibleTopMargin,
			UIViewAutoresizing.FlexibleBottomMargin
		];

		addSubview(imageView);
In the
pinch(_:)
method of class
View,
change
label.transform
to
imageView.transform.