We have seen that any
view controller
can have a
view
underneath it,
i.e., under its supervision and control.
A special kind of view controller called a
UITabBarController
can have another view controller underneath it.
In fact, a
UITabBarController
has a whole
array of view controllers
underneath it.
See
Tab
Bars
in the
UIKit
User Interface Catalog,
and
Tab
Bar Controllers.
UITabBarController
lets you switch back and forth between the view controllers beneath it.
Each of these other view controllers has a view of its own.
Our example has five view controllers under the tab bar controller,
one for each borough.
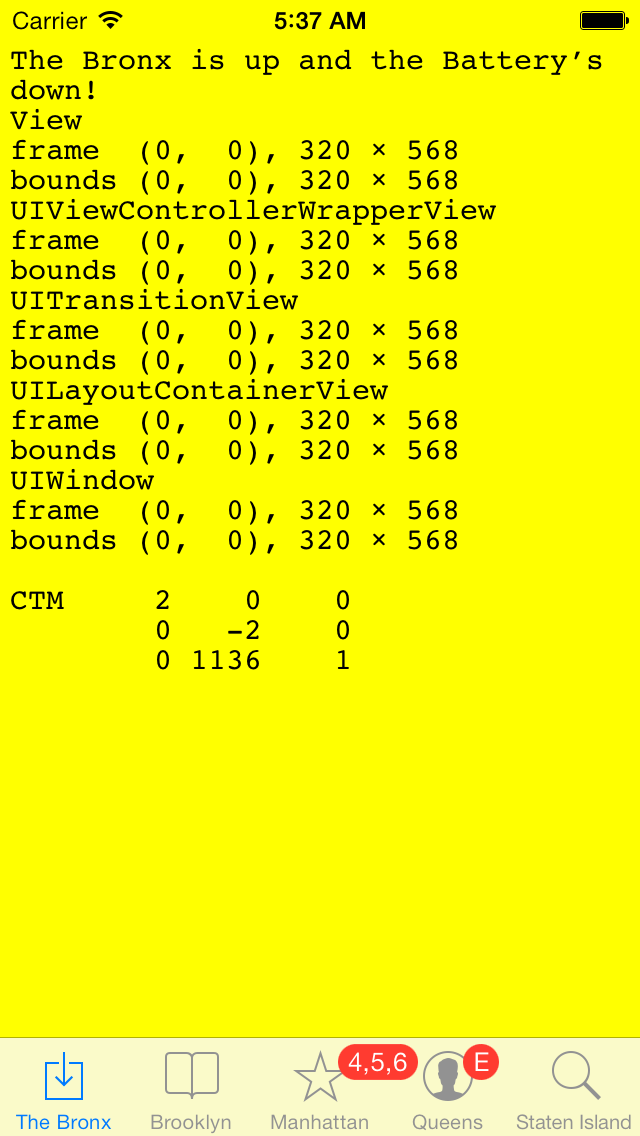
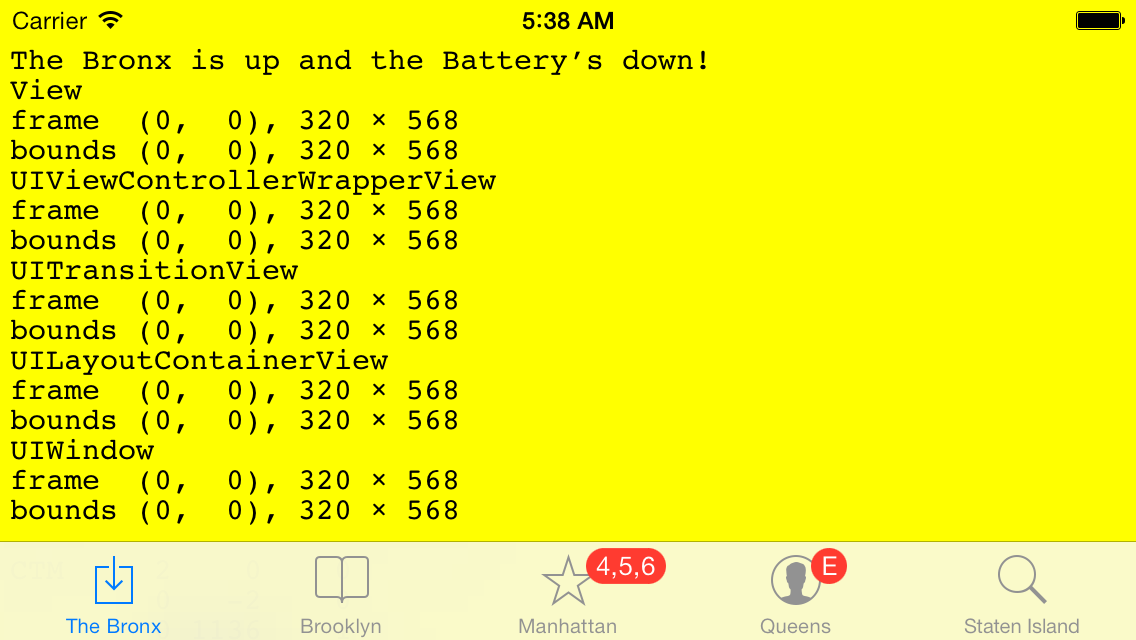
The
drawRect:
of our class
View
displays the view and its complete ancestry all the way back to the enclosing
window.
The font is monospace font to align the columns of numbers.
The translucent
tab
bar
is 49 pairs of pixels high,
but this fact is nowhee in Apple’s documentation and may therefore
change without warning.
main.mTabAppDelegateViewControllerViewbronx@2x.png:
38 × 48 pixelsbrooklyn@2x.png:
64 × 47 pixelsmanhattan@2x.png
55 × 52 pixels
queens@2x.png
50 × 50 pixelsstatenisland@2x.png:
49 × 49 pixels
TabAppDelegate.m
must import
ViewController.h,
since it creates a
ViewController.
ViewController.m
must import
View.h,
since it creates a
View.
Add the five
.png


I should have created my own icons for the five boroughs. But I’m not an artist, so I used Apple’s standard icons (see below).
The names of the png files contain
@2x.
I should have added five additional png files to the project,
without the
@2x
in their names
(bronx.png,
etc).
These would be smaller files in case the app is run on a non-retina device.
The
@2x
is not mentioned in
TabAppDelegate.m,
but the calls to
imageNamed:
opens them anyway.
This method chooses the correct file to open
based on whether the device is retina or non-retina.


See Tab bar icons in the iOS Human Interface Guidelines.
UITabBarSystemItem
enumeration
to the
initWithTabBarSystemItem:tag:UITabBarItem.
Store the return value of this method in the
tabBarItem
property of the view controller.
UITabBarSystemItemBookmarks,
it will always be
"Bookmarks".
The tab bar is 49 pixels high on an iPhone. The image in each tab bar item must be a 30 × 30 pixel png (see tab bar icons) drawn with the alpha channel only. I created one with the Adobe Photoshop CS4 Extended version 11.0.1 at NYU.
File → New… Name: bronx
Width: 30 pixels
Height: 30 pixels
Color Mode: RGB Color
Background Contents: Transparent
OK
You now have a square file with a white and gray checkered background.
It should be displayed in two places:
in a little
bronx @ 100% (Layer 1, RGB/8)
window,
and in the
Navigator
tab.
Select the pencil tool. Resize the pencil if necessary. The lines you draw will appear in blue against a gray background when the item is selected, and in gray against a black background when the item is not selected.
File → Save As…
Format: PNG
Save
PNG Options Interlace None
OK
Then add the png file to your Xcode project.
Project → Add to Project…
Add
Add
Here are instructions for getting ImageMagick and using it to create a black and transparent image for iPhone/iPad icons.
Terminal.app,
run
sudo port install ImageMagickThis step may take a while. Alternative instructions are available here.
Terminal.app,
run
convert image1.jpg -threshold 60% image2.jpgThis will make a black and white image from a color image. Play around with the percentage to get the desired results.
Terminal.app,
run
convert image2.jpg -transparent white image3.jpgThis sets all white pixels to transparent. Use
+transparent color-fill
The following form changes the selected color to transparent in an image file.
It runs the Perl gateway
/home1/m/mm64/public_html/cgi-bin/maketabi5.nyu.edu.
UIView:
UIViewControllerWrapperView,
UITransitionView,
and
UILayoutContainerView.
Can you find these classes anywhere in Apple’s online documentation?