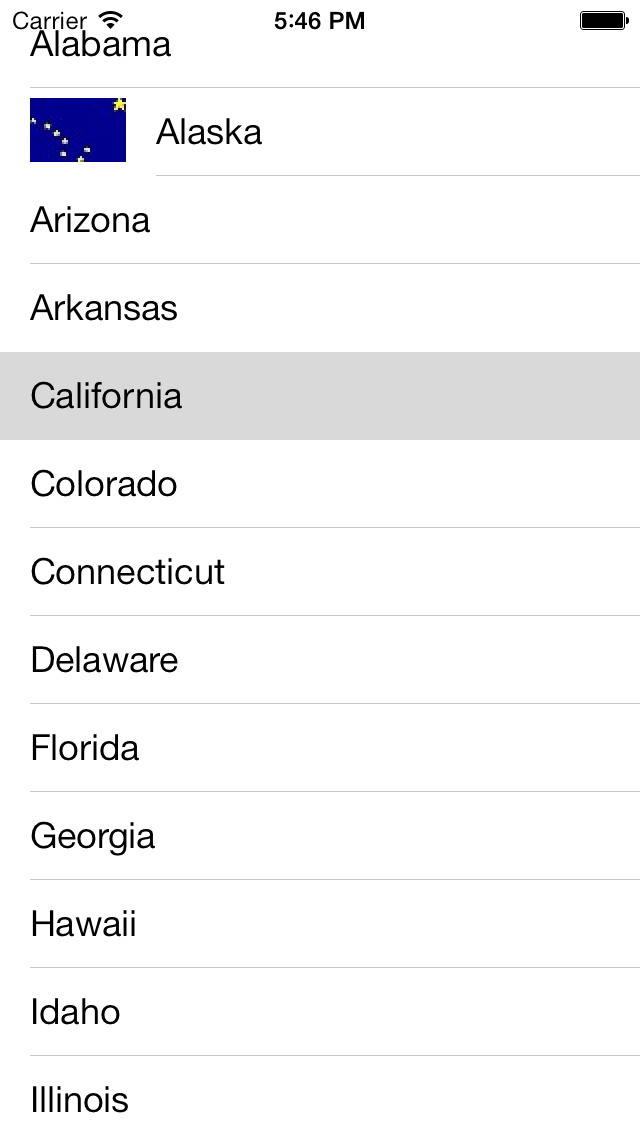
iOS 7 screen shots:
iOS 6 screen shots:
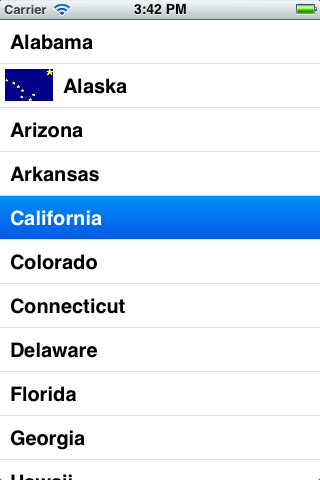


main.mStatesAppDelegateTableViewControllerAlaska.jpg
Select the
States
folder in the Xcode Project Navigator.
File →
New →
File…
Chose a template for your new file:
Objective-C class
Next
Choose options for your new file:
Class:
TableViewController
Subclass of:
UITableViewController
Don’t check iPad or XIB
Next
Create
To add
Alaska.jpg
to the project,
drag the file to the
Supporting Files folder
in the Xcode Project Navigator.
Choose options for adding these files
Destination ☑ Copy items into destination group’s folder
(if needed)
Finish
The Settings app has lots of examples of table views.
UITableView,
UITableViewController,
and
UITableViewCellUITableViewDataSource
and
UITableViewDelegate
A
table view
is made of cells (rows) called
UITableViewCells.
Each cell contains two
UILabels
called the
textLabel
(the title)
and the
detailtextLabel
(the subtitle).
A
table view
can scroll because it is derived from class
UIScrollView;
see the
initWithStyle:TableViewController.
Our
table
view
was created by its
view
controller,
and the
tableView
property of the
view
controller
points to the
table
view.
By default, each
cell
is 44 pixels (or pixel pairs) high: 43 pixels of white space,
plus a one-pixel hairline.
By default, the font of the
textLabel
of the cell is
[UIFont boldSystemFontOfSize: 20]
A
UITableView
requires a
UITableViewDataSource
and a
TableViewDelegate,
just like the
UIPickerView
we saw
here
requires a
UIPickerViewDataSource
and a
UIPickerViewDelegate.
The
data
source
and the
delegate
of the
table
view
will usually be the
table
view’s
view controller.
A
table
view’s
view controller
has to be a special type of view controller called a
UITableViewController.
Class
UITableViewController
already adopts the protocols
UITableViewDataSource
and
TableViewDelegate.
The most important method we give to a view controller is usually
loadView,
which creates the view controller’s view.
But we don’t have to write any
loadView
for a
UITableViewController.
The
UITableViewController
is hardwired to always create a
UITableView.
Similarly, we do not have to set the
dataSource
and
delegate
properties
of a
table
view
created by a
table
view controller.
These properties already point to the
table
view controller.
To sum up, the table view controller object plays three rôles: it’s the view controller, data source, and delegate.
Every table view needs a data source object. For our table view, the data source will be the view controller. For other apps the data source will be a separate object, often referred to as the “model” when we talk in terms of Model-View-Controller.
The table view calls the following three required methods of the data source.
numberOfSectionsInTableView:
returns 1 in this apptableView:numberOfRowsInSection:
returns 50 in this apptableView:cellForRowAtIndexPath:
returns a
UITableViewCell,
preferably recycled.
See the
cellReuseIdentifier
instance variable of the
TableViewController.
The arguments and return values of the data source methods are
NSIntegers,
agreeing with the
section
and
row
properties of an
NSIndexPath.
A table view delegate is needed only if we want to make the cells do more than turn blue in response to a touch.
initWithStyle:ViewController,
change some of the default properties of the table view.
textLabel.
Insert the following code immediatelty before the
return
statement
in
tableView:cellForRowAtIndexPath:.
Run the app and scroll down to Wyoming.
	if ([cell.textLabel.text isEqualToString: @"Wyoming"]) {
		NSLog(@"cell.frame == (%g, %g), %g × %g",
			cell.frame.origin.x,
			cell.frame.origin.y,
			cell.frame.size.width,
			cell.frame.size.height
		);

		NSLog(@"font == %@ %g",
			cell.textLabel.font.fontName,
			cell.textLabel.font.pointSize
		);
	}
2013-08-14 16:24:46.873 States[20641:c07] cell.frame == (0, 2156), 320 × 44
2013-08-14 16:24:46.875 States[20641:c07] font == Helvetica-Bold 20
UITableViewCellStyleDefault
to
UITableViewCellStyleSubtitle.
In
tableView:cellForRowAtIndexPath:,
change the call to
dequeueReusableCellWithIdentifier:
to the following.
	UITableViewCell *cell =
		[tableView dequeueReusableCellWithIdentifier: cellReuseIdentifier];

	if (cell == nil) {
		cell = [[UITableViewCell alloc] initWithStyle: UITableViewCellStyleSubtitle reuseIdentifier: cellReuseIdentifier];
	}
Also insert the following code immediatelty before the
return
statement
in
tableView:cellForRowAtIndexPath:.
	cell.detailTextLabel.text = [NSString stringWithFormat:
		@"%@ is state number %ld of %lu",
		cell.textLabel.text, indexPath.row + 1, states.count];
Try the other styles:
UITableViewCellStyleValue1,
etc.
tableView:didSelectRowAtIndexPath:- (void) tableView: (UITableView *) tableView didSelectRowAtIndexPath: (NSIndexPath *) indexPath { UITableViewCell *cell = [tableView cellForRowAtIndexPath: indexPath]; cell.accessoryType = UITableViewCellAccessoryCheckmark; }Better yet, toggle the checkmark instead of setting it.
	UITableViewCell *cell = [tableView cellForRowAtIndexPath: indexPath];

	if (cell.accessoryType == UITableViewCellAccessoryNone) {
		cell.accessoryType = UITableViewCellAccessoryCheckmark;
	} else {
		cell.accessoryType = UITableViewCellAccessoryNone;
	}
A more cryptic way to say the above is
	UITableViewCell *cell = [tableView cellForRowAtIndexPath: indexPath];

	cell.accessoryType = cell.accessoryType == UITableViewCellAccessoryNone
		? UITableViewCellAccessoryCheckmark
		: UITableViewCellAccessoryNone;