Our first project,
Hello,
showed that a
UIView
can display text.
To do this,
we had to subclass the
UIView,
override its
drawRect
method,
and write code that called
drawAtPoint(:withAttributes:).
UITextView
is a subclass of
UIView
that makes it easy to display one or more lines of text.
All we have to do is put a string of characters into the
text
property of the
UITextView.
The string can contain the escape sequences for
newline
(\n),
tab
(\t),
etc.
The
text
property of a
UITextView
is a constant string,
so we cannot append to it with the
compound
assignment
operator
+=.
To make the string longer,
we must overwrite it with a new string.
AppDelegate.swift:
unchanged.ViewController.swift:
unchanged.View.swift:
the big yellow view that occupies the screen
belongs to a subclass of
UITextView.
We turned off its touch-sensitivity.
LaunchScreen.xib.
Main.storyboard.
Info.plist:
unchanged.
Create a subview
of class
UITextView
named
View.
By turning off the
editable
property,
we turned off the
UITextView’s
touch sensitivity.
Had we not done that,
a touch would have dispayed a blinking insertion point and a keyboard.
To allow the simulator to pop up a keyboard,
Hardware →
Keyboard →
Toggle Software Keyboard
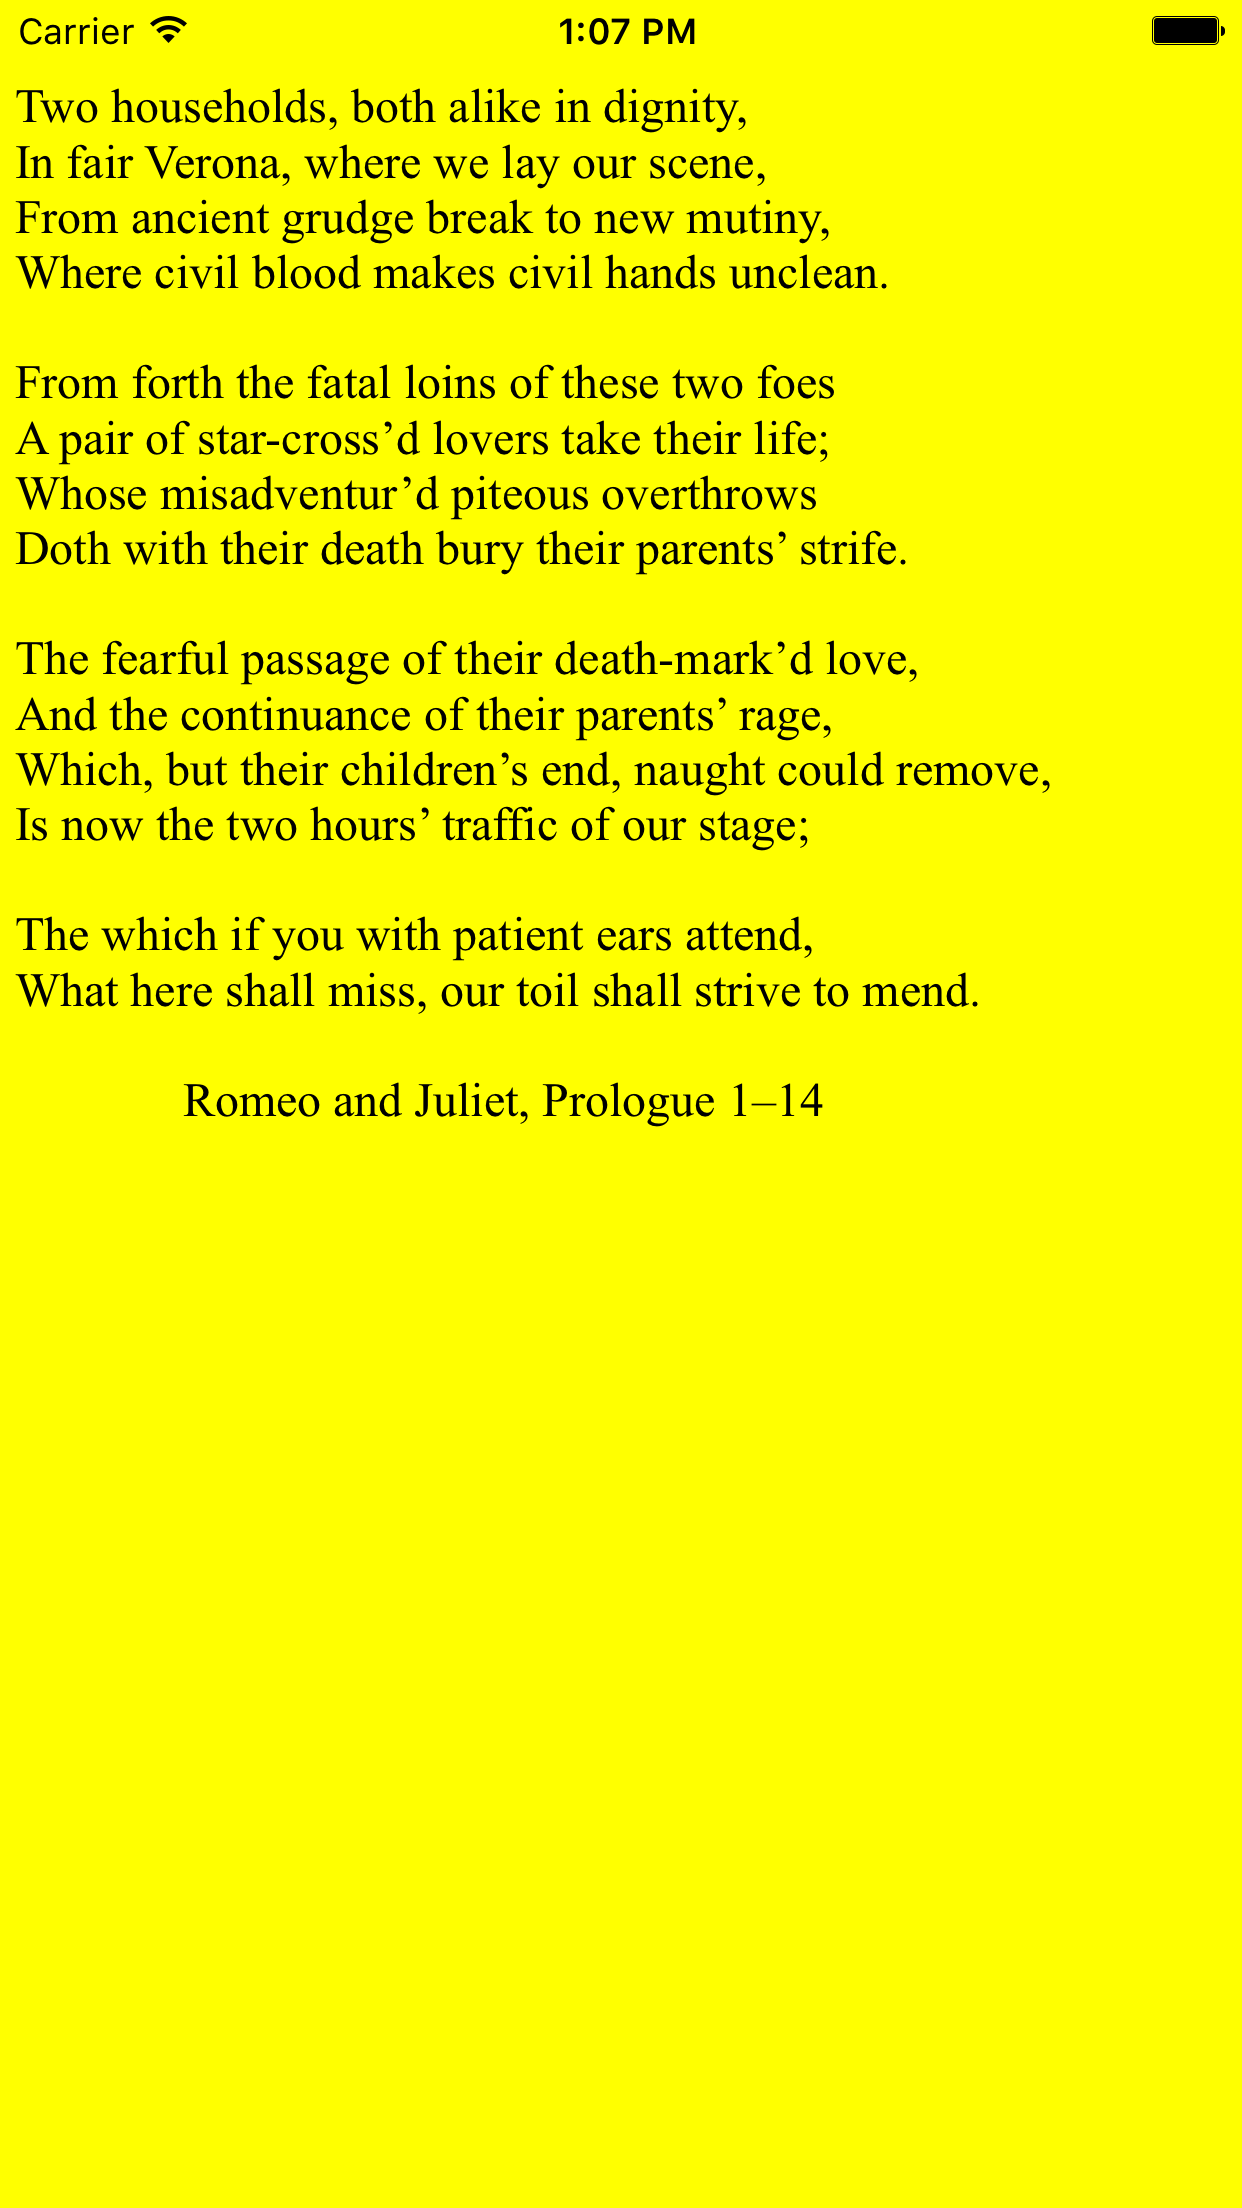
“Star-cross’d” has an apostophe,
not a single quote
(Star-cross'd).
1–14 has an en-dash, not a dash (1-14).
In Xcode,
Edit →
Special Characters… →
Punctuation
text
in the
UITextView
had to start with a newline
(\n)
because the
UITextView
and the
status
bar
overlapped.
Let’s move the
UITextView
down so it no longer overlaps.
See the second screenshot above.
Info.plist,
add the property
“View
controller-based status bar appearance”
with the value NO.
View.
	override func layoutSubviews() {
		let application: UIApplication = UIApplication.sharedApplication();
		let appDelegate: AppDelegate = application.delegate as! AppDelegate;
		let window: UIWindow = appDelegate.window!;
		let viewController: ViewController = window.rootViewController as! ViewController;
		let y: CGFloat = viewController.topLayoutGuide.length;
		let size: CGSize = window.frame.size;
		window.frame = CGRect(x: 0, y: y, width: size.width, height: size.height);
	}
"\n"
at the start of the
text.