
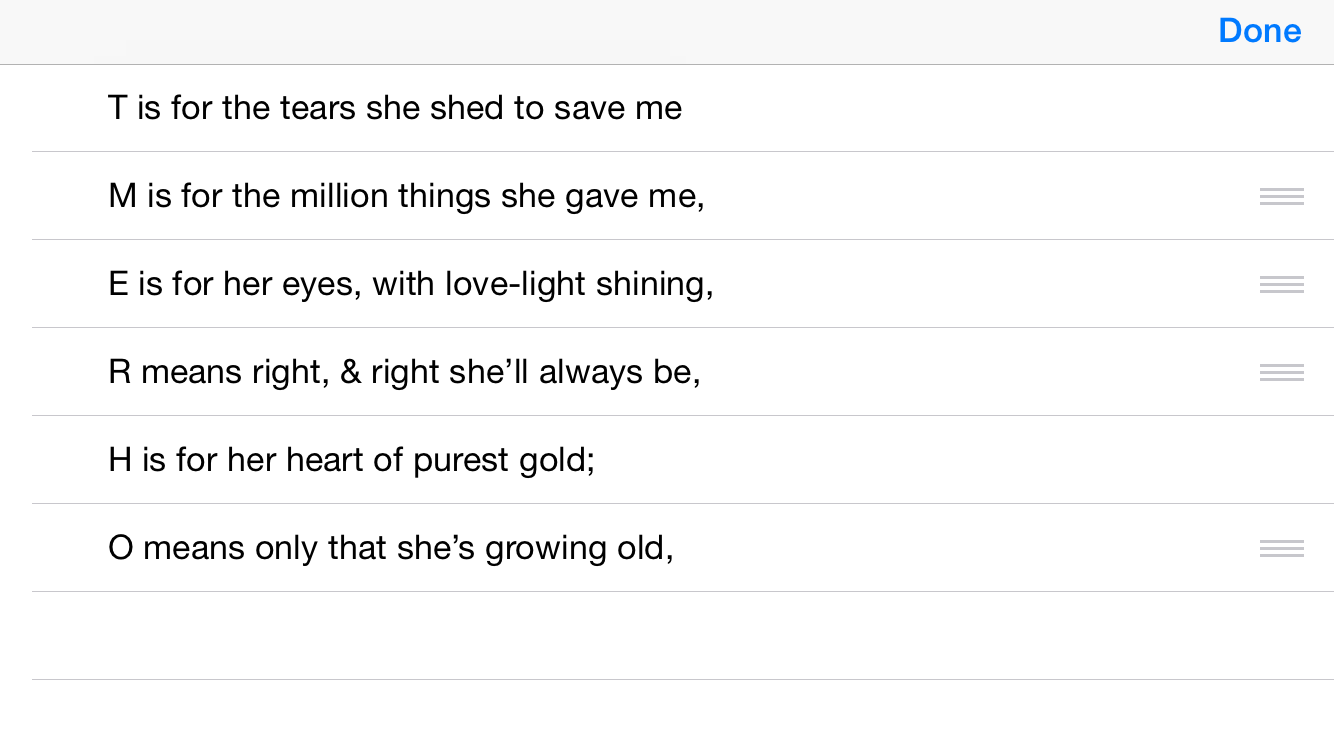
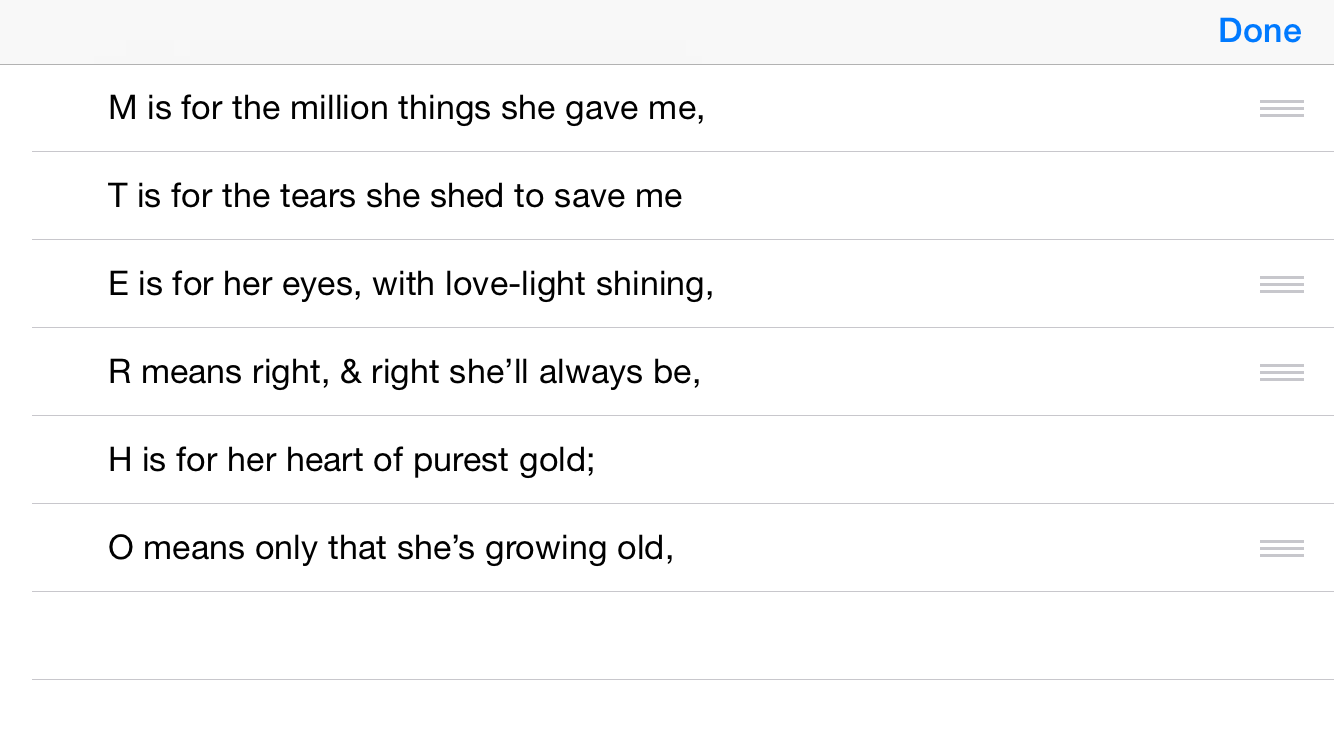
Press Edit and unscramble the mystery word. Press down on the reordering control (horizontal grooves) until the cell is highlighted; then drag the reordering control up or down. When you’re done, press Done.
AppDelegate
creates a
TableViewController
and puts it under a
UINavigationController
to make the
TableViewController’s
navigation bar visible.
TableViewController.
The table view data source has the methods
tableView(_:canMoveRowAtIndexPath:)
and
tableView(_:moveRowAtIndexPath:toIndexPath:).
The table view delegate has the method
tableView(_:editingStyleForRowAtIndexPath:).
Info.plist.
The “Supported interface orientations’
property launches the app in
landscape
left
orientation.
Select the
Reorder
folder in the Xcode Project Navigator.
File →
New →
File…
Chose a template for your new file:
iOS Source/Cocoa Touch Class
Next
Choose options for your new file:
Class:
TableViewController
Subclass of:
UITableViewController
Next
Create
Select Main.storyboard in the Xcode Project Navigator. Open the left pane of the center panel of Xcode as far as
▼ View Controller Scene
   ▶ View Controller
   First Responder
   Exit
and select the View Controller.
In the right panel of Xcode,
click on the icon for the Identity inspector.
It’s a rectangle with a smaller rectangle in its upper left corner.
Control-click on ViewController.swift in the Xcode Project Navigator
and select Delete.
Do you want to move the file “ViewController.swift”
to the Trash, or only remove the reference to it?
Move to Trash.
In the
Info.plist
file in the Supporting Files folder
of the Xcode Project Navigator,
remove two of the three
Supported
interface orientatations.
Only “Landscape (left home button)”
should remain.
(If more than one remains,
the first one will be the startup orientation.)
Remember to write a
supportedInterfaceOrientations()
method in the view controller.
Our table view controller is the table view’s data source and therefore contains the following methods. We have already seen the first three; they hold the data. The next two are new; they rearrange the data.
numberOfSectionsInTableView(_:)
tableView(_:numberOfRowsInSection:)
tableView(_:cellForRowAtIndexPath:)
tableView(_:canMoveRowAtIndexPath:)
tableView(_:moveRowAtIndexPath:toIndexPath:)
Our table view controller view controller is also the table view’s delegate and therefore contains the following method. It prevents each cell from having a red minus sign.
Thanks to the
tableView(_:canMoveRowAtIndexPath:)
method of the
data
source,
the T and H have no reordering controls.
You can move them anyway,
by pushing them around with the other cells.
But the two cells must remain in the same relative order.
tableView(_:canMoveRowAtIndexPath:)
method of class
TableViewController,
change
		if initial == "T" || initial == "H" {
				return false;
		}
		return true;
to the following.
It does the same thing.
return initial != "T" && initial != "H";
tableView(_:moveRowAtIndexPath:toIndexPath:)
method of the
data
source.
For
map,
see
Section.
		//What word do all the initials spell?
		let word: String = String(lines.map {$0[$0.startIndex]});

		if word == "MOTHER" {
			title = word;	//displayed in the navigation bar
		}