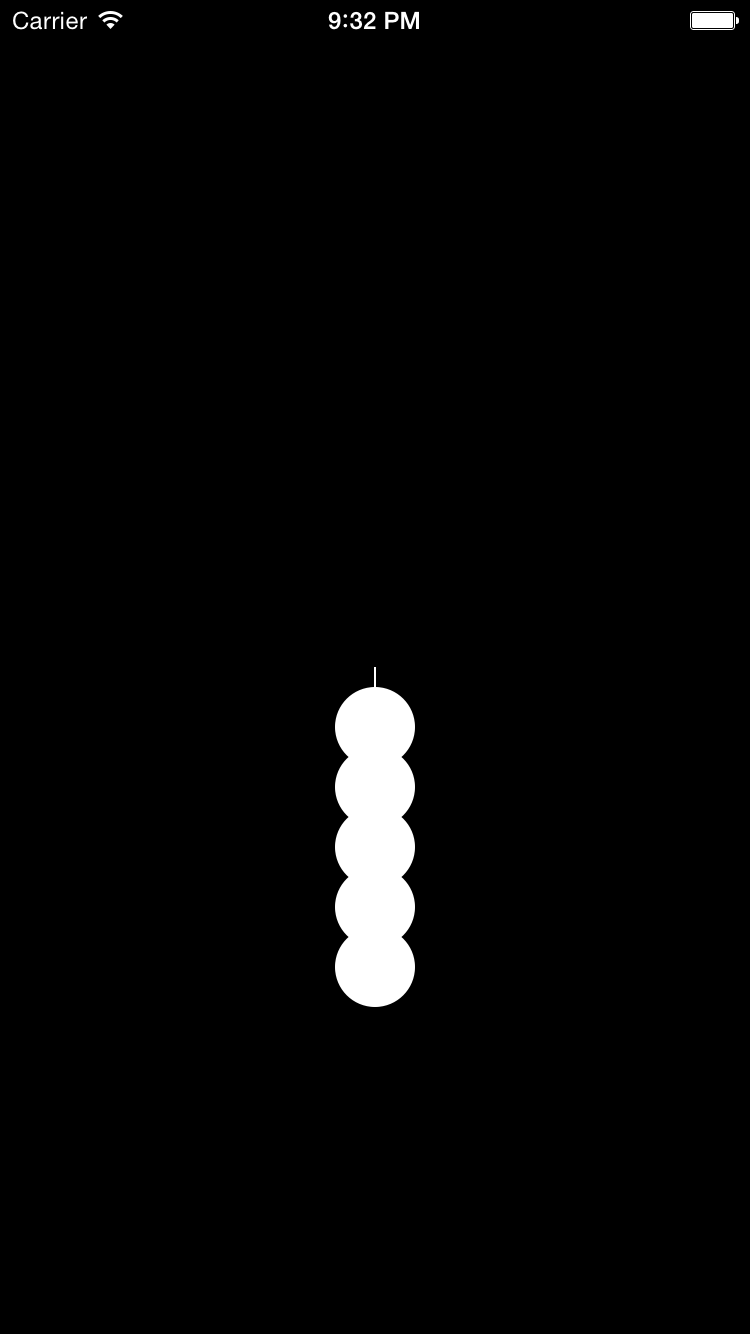
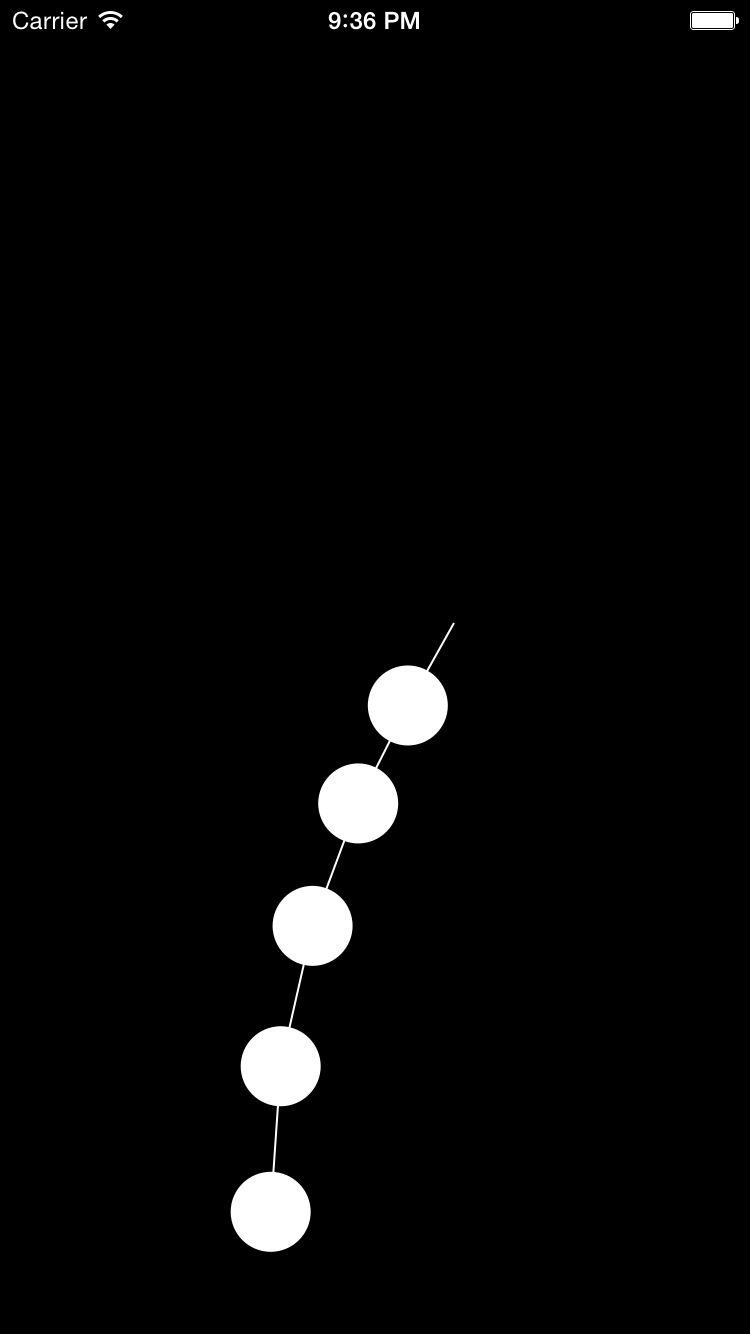
Swipe across the screen and drag the string of pearls after you.
The
CADisplayLink
property of the
ViewController
has to be
lazy
because its initialization uses the
view
property of the
ViewController.
The initialization of the
CADisplayLink
must therefore come
after
the initialization of the
view.
The keyword
lazy
causes this to happen,
even though the initialization of the
CADisplayLink
is written in the same statement as its declaration.
We have to say
self.view
here to get it to compile.
AppDelegate:
does the expensive animation only when the app is visible on the screen.
ViewController:
creates the big black view and sets the text color of the status bar to white.
The view controller contains a
CADisplayLink
which triggers a call to the
View’s
drawRect:
60 times per second.
View
creates the five
Pearl
objects.
Pearl
draws one circle and one line.
Newton’s
Second
Law of Motion
states that
CGPoints
in our language).
The
m
is italic because it is a scalar
(a
CGFloat
in our language).
LaunchScreen.xib
is in white on black.
Select the project Pearl at the top of the Xcode Project Navigator. At the top of the center panel of Xcode, select General. Under Deployment Info, uncheck all the Device Orientations except Portrait.
html5.html
Pull down your browser’s
View menu (Develop on Safari)
and select
View Source
or
Page Source.
CMMotionManager
(a.k.a. accelerometer)
object to the
ViewController.
At the top of
ViewController.swift,
import CoreMotion; //needed for CMMotionManagerAdd the following property to class
ViewController.
let motionManager: CMMotionManager = CMMotionManager();
		//in applicationWillResignActive(_:)
		viewController.motionManager.stopAccelerometerUpdates();
		//in applicationDidBecomeActive
		viewController.motionManager.startAccelerometerUpdates();
Pearl.swift,
import CoreMotion; //needed for CMAccelerometerDataIn the
pullTowards
method of class
Pearl,
change
		let force: CGPoint = CGPointMake(
			(p.x - location.x) * stiffness,
			(p.y - location.y) * stiffness + gravity * mass);
to the following.
		let appDelegate: AppDelegate = UIApplication.sharedApplication().delegate! as AppDelegate;
		let viewController: ViewController = appDelegate.window!.rootViewController! as ViewController;
		let accelerometerData: CMAccelerometerData? = viewController.motionManager.accelerometerData;

		var a: CMAcceleration;
		if accelerometerData == nil {
			a = CMAcceleration(x: 0, y: 0, z: 0);
		} else {
			a = accelerometerData!.acceleration;
		}

		let force: CGPoint = CGPointMake(
			(p.x - location.x) * stiffness + CGFloat(a.x) * gravity * mass,
			(p.y - location.y) * stiffness - CGFloat(a.y) * gravity * mass);
armv7.
Add the capability
accelerometer.
Pearl
project at the top of the Xcode Project Manager.
At the top of the center panel of Xcode,
select General.
Under Deployment Info,
go to Device Orientation and uncheck all of them except Portrait.
Pearl?