To save an iOS Simulator
screenshot
on the Mac Desktop,
File →
New Screen Shot
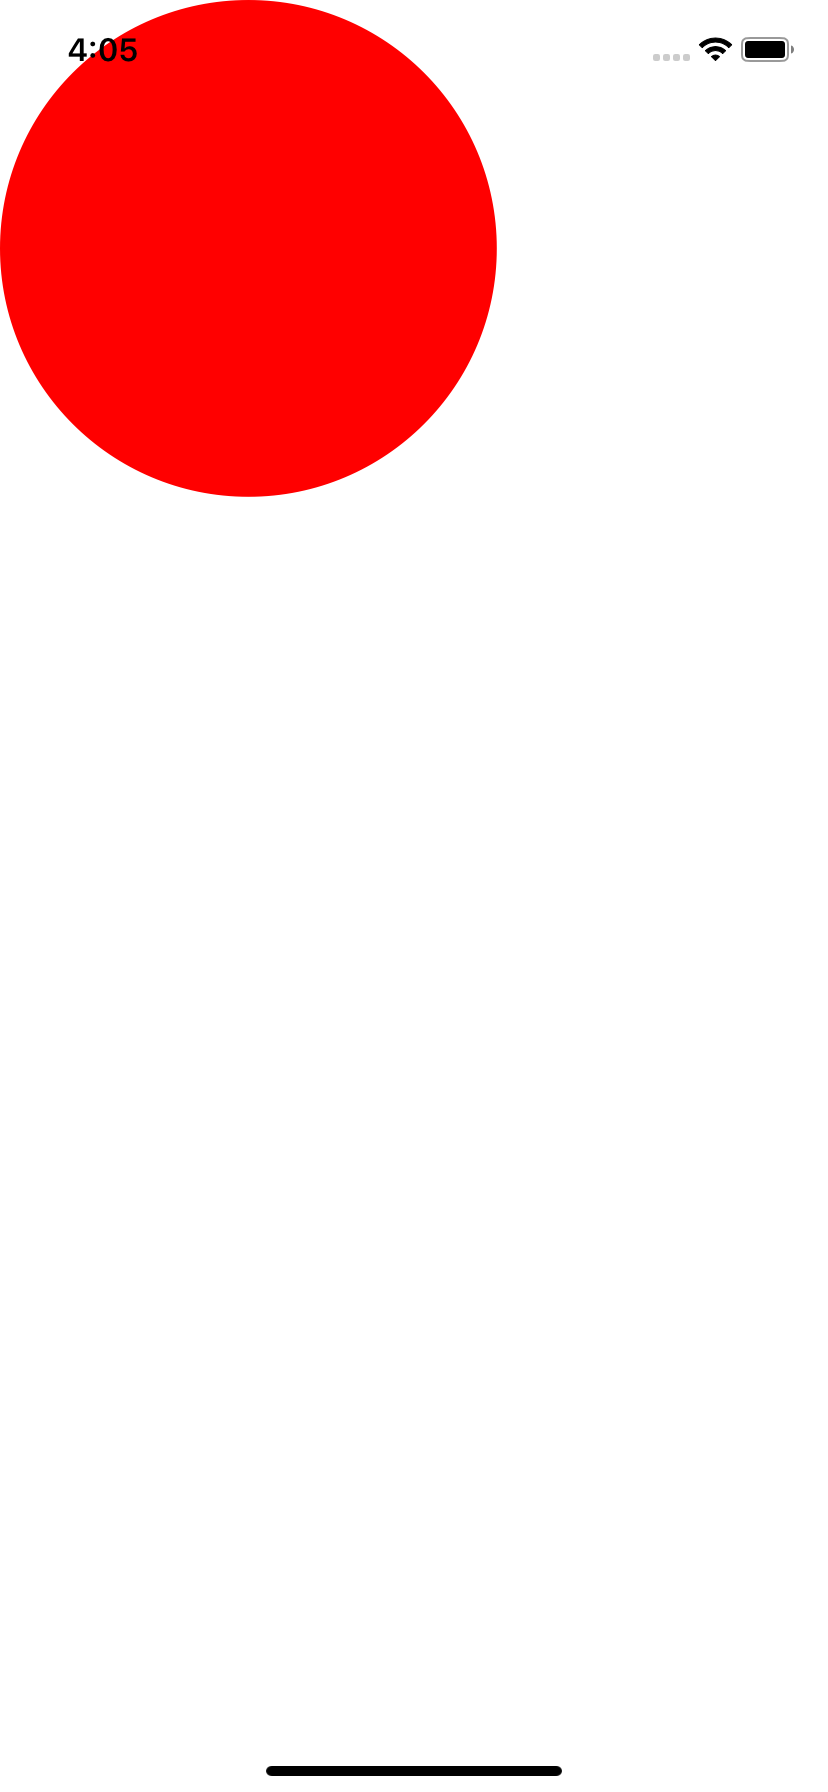
The above screenshots are from the iPhone XR simulator. They are 828 × 1792 pixels, which is the size of the iPhone XR screen. See the tech specs. I reduced them on this web page to 414 × 896 pixels,
We printed a line of text in the
draw(_:)
AppDelegate.swift:
unchanged.ViewController.swift:
unchanged.JapanView.swift:
added the
init
that takes an
NSCoder,
and
draw(_:).Main.storyboard:
where the 375 × 667 dimesions come from.
(You can verify this with the
Size Inspector.)
Changed the class of the view controller’s
UIView
to my class
JapanView.LaunchScreen.storyboard:
unchanged.
Info.plist:
unchanged.Same as the previous project, except that the product name is Japan instead of Hello.
View →
Debug Area →
Activate Console
The output shows that the
JapanView
has not yet received its correct dimensions when its
init
method is executed.
But the correct dimensions are there when the
JapanView’s
draw(_:)
method is executed.
On iPhone XR, the screen is 828 × 1792 pixels. The view is 414 × 896 points. Therefore 1 point = 2 pixels. See Points vs. Pixels.
init(coder:) frame  = (0.0, 0.0, 375.0, 667.0)
init(coder:) bounds = (0.0, 0.0, 375.0, 667.0)
draw(_:)     frame  = (0.0, 0.0, 414.0, 896.0)
draw(_:)     bounds = (0.0, 0.0, 414.0, 896.0)
We put the upper left corner of the circle at the
upper left corner of the
JapanView.
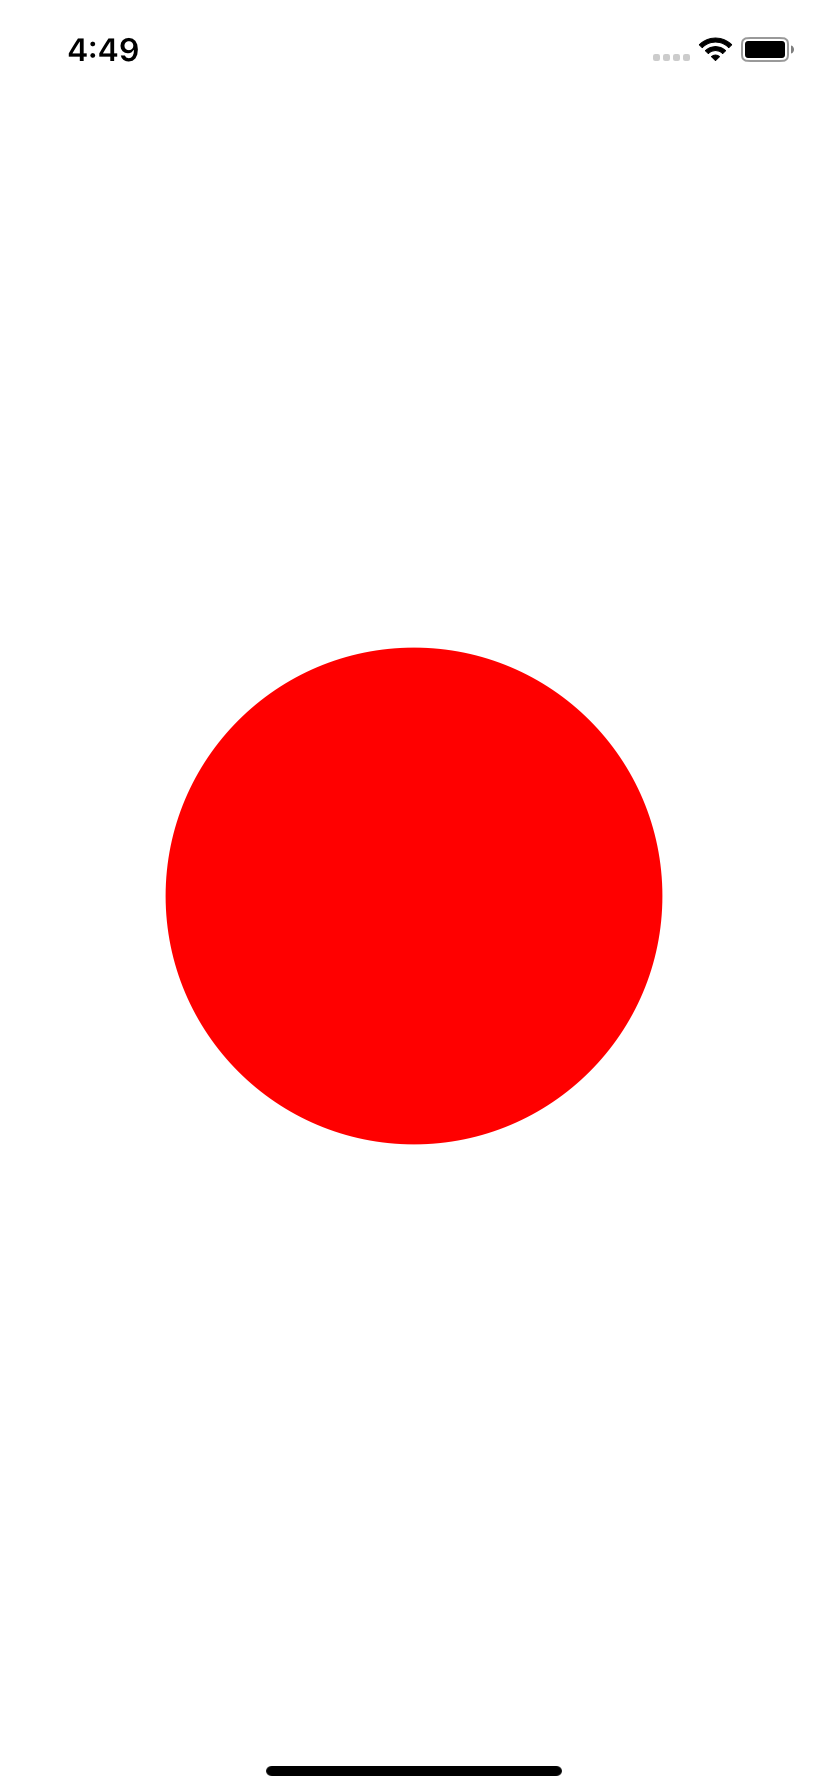
But we want to center the circle in the JapanView.
There are three ways to do this.
draw(_:)
method of class
JapanView,
change the rectangle from
		let r: CGRect = CGRect(
			x: bounds.minX,
			y: bounds.minY,
			width: 2 * radius,
			height: 2 * radius);
to
		let r: CGRect = CGRect(
			x: bounds.minX + bounds.width / 2 - radius,
			y: bounds.minY + bounds.height / 2 - radius,
			width: 2 * radius,
			height: 2 * radius);
This will move the circle half the width of the big white
JapanView
to the right,
and half the width of the big white
JapanView
down.
draw(_:)
method of class
JapanView.
To get the northwest arrow ↖ (Unicode
"\u{2196}"),
		let point: CGPoint = CGPoint(x: 0.0, y: 0.0);
		let font: UIFont = UIFont.systemFont(ofSize: 32);
		let attributes: [NSAttributedString.Key: Any] = [NSAttributedString.Key.font: font];  //a dictionary
		"↖ Origin".draw(at: point, withAttributes: attributes);
The following diagram shows the origin at the upper left corner of the
JapanView
on an iPhone XR in portrait orientation.
The width and height are measured in points (pairs of pixels)
so the dimensions of the screen are 828 × 1792 pixels.
JapanView.
viewDidLoad
method of the view controller in the file
ViewController.swift,
immediately after the call to
super.viewDidLoad.
The new statements can not be inserted into the view’s
init(coder:)
method—that would be too early because the view’s
bounds
are not yet correct then.
The new statements can not be inserted into the
draw(_:)
method—that would be too late.
		//Keep the width and height of the view the same,
		//but let the center of the view be the origin.

		let w: CGFloat = view.bounds.width;
		let h: CGFloat = view.bounds.height;
		view.bounds = CGRect(x: -w / 2, y: -h / 2, width: w, height: h);
We can now simplify the rectangle in
draw(_:)
to
		let r: CGRect = CGRect(
			x: -radius,
			y: -radius,
			width: 2 * radius,
			height: 2 * radius);
viewDidLoad,
but let the rectangle around the circle in
draw(_:)
remain as
		let r: CGRect = CGRect(
			x: -radius,
			y: -radius,
			width: 2 * radius,
			height: 2 * radius);
Insert the following transformation into
draw(_:).
Since it mentions the constant
c,
it must be inserted after you create
c.
To have an effect on the circle,
it must be inserted before the call to
addEllipse(in:).
c.translateBy(x: bounds.width / 2, y: bounds.height / 2);The following is a roundabout way to do exactly the same translation. Instead of putting the horizontal and vertical distances directly into the CTM, we can put them into the constant
translate.
Then (possibly at a later time), we put
translate
into the CTM.
		let translate: CGAffineTransform = CGAffineTransform(
			translationX: bounds.width / 2,
			y: bounds.height / 2);

		c.concatenate(translate);
Insert the following statement immediately after the
translateBy(x:y:)
in
draw(_:).
		//Stretch all subsequent drawing vertically by a factor of 1.5.
		c.scaleBy(x: 1, y: 1.5);
What goes wrong if we do the scale before the translate?
I usually do my favorite pair of transformations before I add any shapes to the path.
		//Put the origin at the center of view.
		//Make the X axis point to the right, the Y axis point up:

		c.translateBy(x: bounds.width / 2, y: bounds.height / 2);
		c.scaleBy(x: 1, y: -1);
To demonstrate rotation, we replace the circle with a square.
	override func draw(_ rect: CGRect) {
		// Drawing code
		let side: CGFloat = bounds.width / 2;	//in pixels

		//specify lower left corner of rectangle because of the following scale
		let r: CGRect = CGRect(
			x: -side / 2,
			y: -side / 2,
			width: side,
			height: side);

		let c: CGContext = UIGraphicsGetCurrentContext()!;
		c.beginPath();	//unnecessary here: the path is already empty
		c.translateBy(x: bounds.width / 2, y: bounds.height / 2); //origin at center
		c.scaleBy(x: 1, y: -1);                                   //Y axis points up
		c.addRect(r);
		c.setFillColor(red: 1.0, green: 0.0, blue: 0.0, alpha: 1.0); //red, opaque
		c.fillPath();
	}
Now rotate the drawing by
15°
counterclockwise.
Insert the following statement immediately after the above call to
scaleBy(x:y:).
Without the scale,
the 15 would have had to be
–15.
GLKMathDegreesToRadians
multiplies its argument by
π/180
to convert degrees to radians.
The return value of this function must be converted from
Float
to the
CGFloat
expected by
rotate(by:).
c.rotate(by: CGFloat(GLKMathDegreesToRadians(15)));
At the top of the file
JapanView.swift,
after the existing
import UIKit:
import GLKit; //needed for GLKMathDegreesToRadians
What goes wrong if we do the rotate before the translate and scale? First of all, the rotation becomes clockwise.
import GLKit; //needed for GLKMathDegreesToRadians
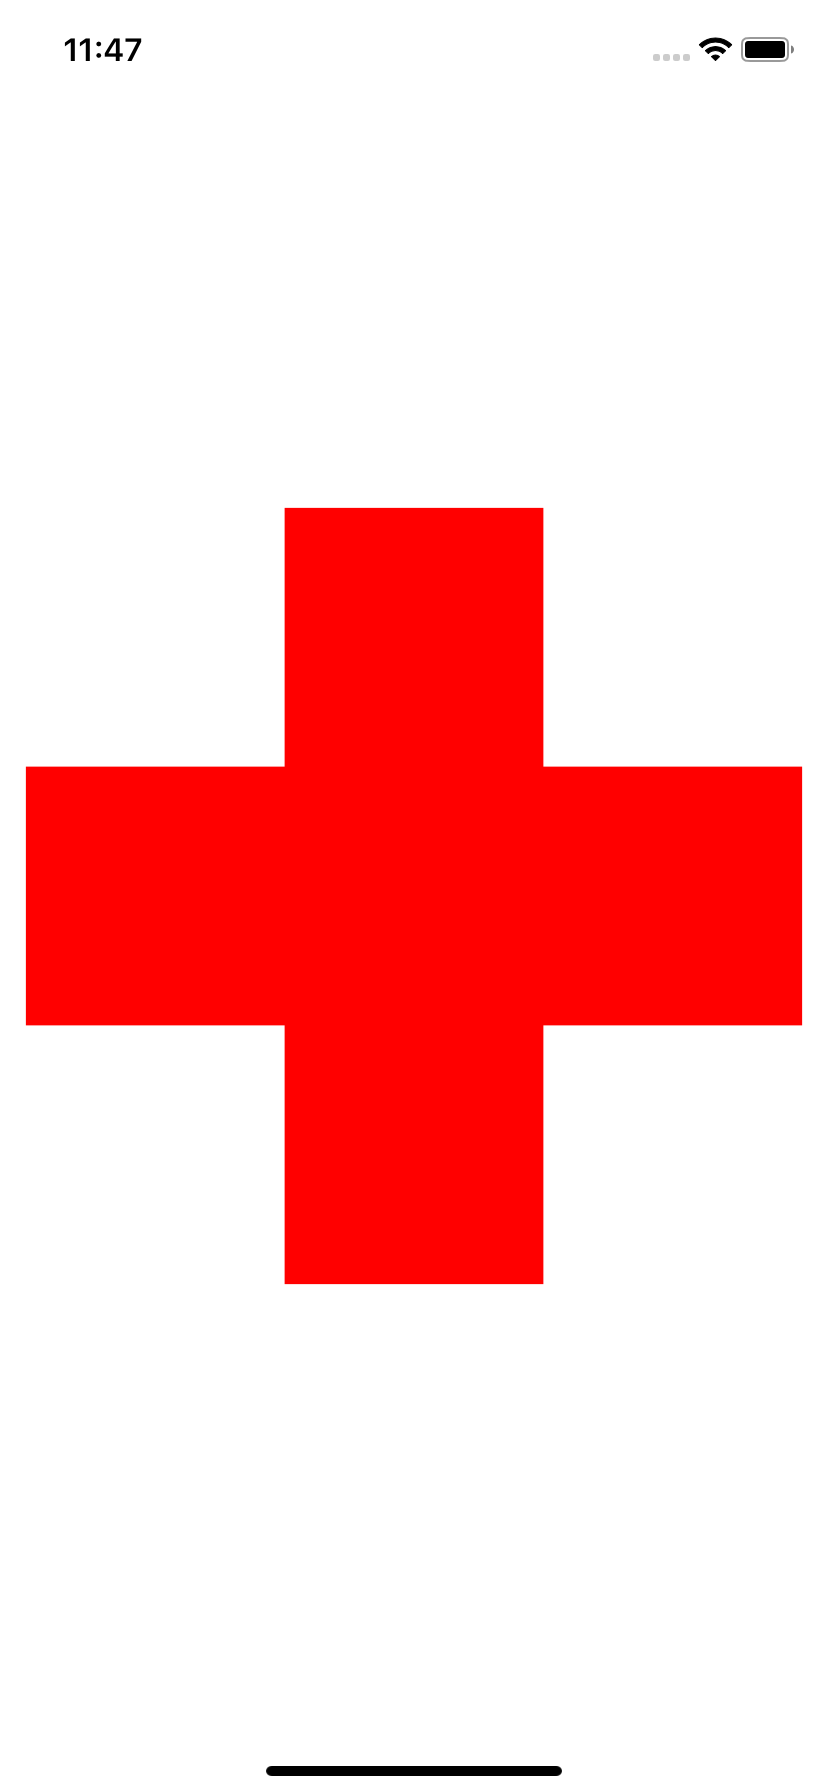
	override func draw(_ rect: CGRect) {
		//Fill the Red Cross.
		let minimum: CGFloat = min(bounds.width, bounds.height);
		let longSide: CGFloat = minimum * 15 / 16;
		let shortSide: CGFloat = longSide / 3;

		let c: CGContext = UIGraphicsGetCurrentContext()!;
		c.beginPath();

		c.translateBy(x: bounds.width / 2, y: bounds.height / 2); //origin at center of view
		c.scaleBy(x: 1, y: -1);                                   //make Y axis point up

		let r: CGRect = CGRect(x: -longSide / 2, y: -shortSide / 2, width: longSide, height: shortSide);
		c.addRect(r);	//the horizontal bar
		c.rotate(by: CGFloat(GLKMathDegreesToRadians(90)));
		c.addRect(r);	//the vertical bar

		c.setFillColor(red: 1.0, green: 0.0, blue: 0.0, alpha: 1.0);
		c.fillPath();
	}
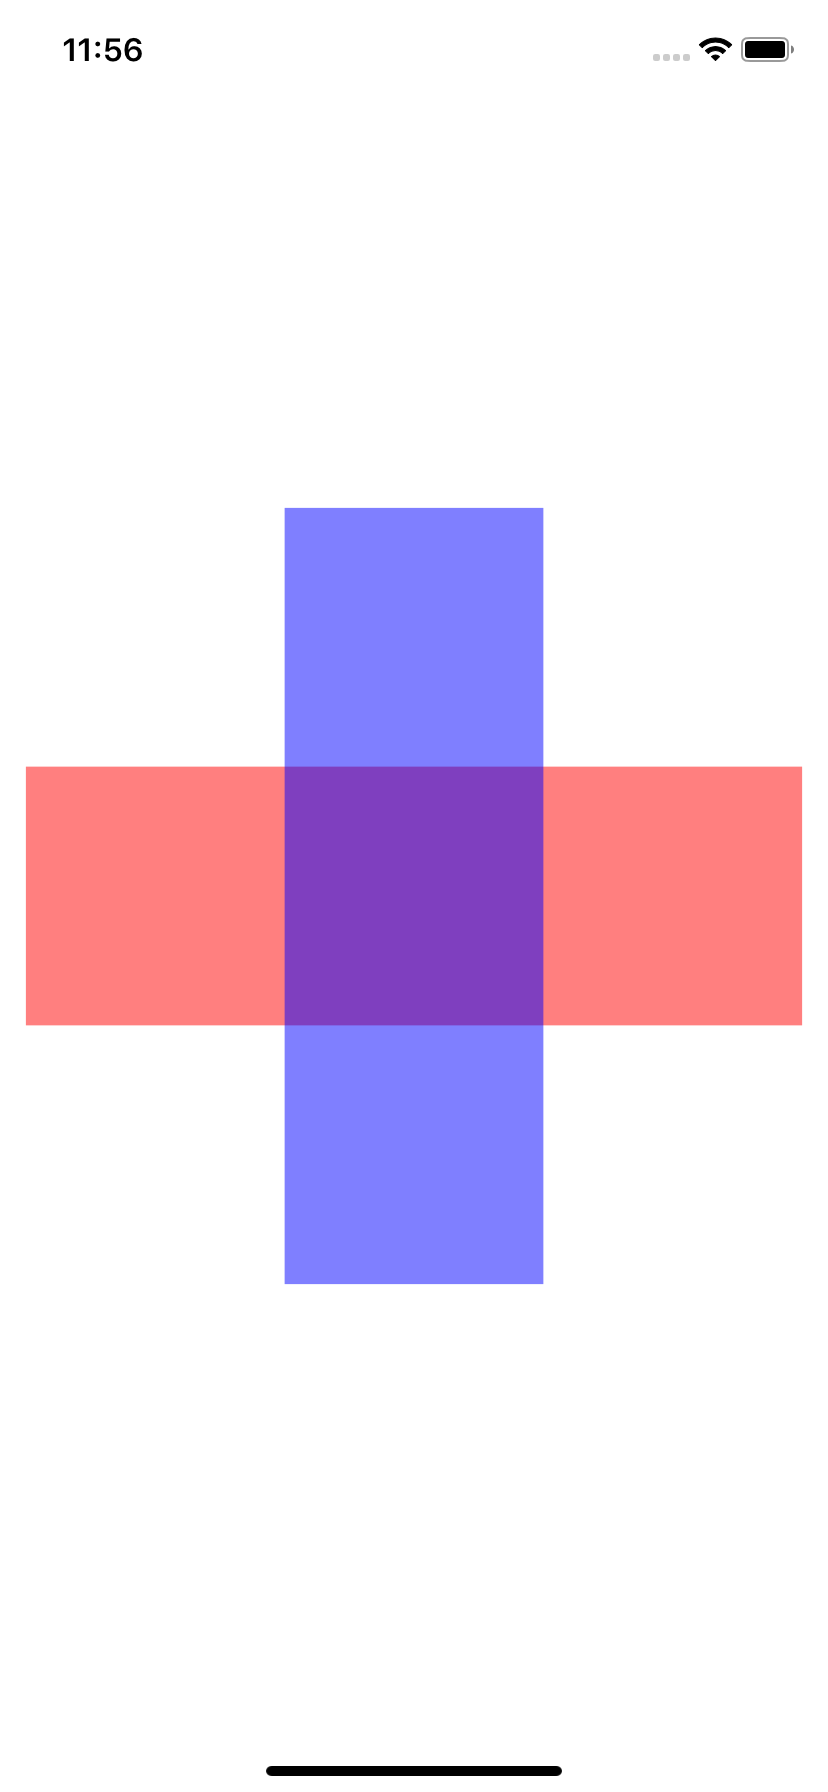
A path is limited to one color. If you want two colors, you’ll have to split the path into two paths.
	override func draw(_ rect: CGRect) {
		//Fill the horizontal bar with red, the vertical with blue.
		let minimum: CGFloat = min(bounds.width, bounds.height);
		let longSide: CGFloat = minimum * 15 / 16;
		let shortSide: CGFloat = longSide / 3;
		let r: CGRect = CGRect(x: -longSide / 2, y: -shortSide / 2, width: longSide, height: shortSide);

		let c: CGContext = UIGraphicsGetCurrentContext()!;
		c.translateBy(x: bounds.width / 2, y: bounds.height / 2); //origin at center of view
		c.scaleBy(x: 1, y: -1);                                   //make Y axis point up

		c.beginPath();
		c.addRect(r);
		c.setFillColor(red: 1.0, green: 0.0, blue: 0.0, alpha: 0.5); //semi-transparent red
		c.fillPath();

		c.beginPath();
		c.rotate(by: CGFloat(GLKMathDegreesToRadians(90)));
		c.addRect(r);
		c.setFillColor(red: 0.0, green: 0.0, blue: 1.0, alpha: 0.5); //semi-transparent blue
		c.fillPath();
	}
	override func draw(_ rect: CGRect) {
		//Fill a right triangle.
		let minimum: CGFloat = min(bounds.width, bounds.height);
		let length: CGFloat = minimum * 5 / 8;       //of side

		let c: CGContext = UIGraphicsGetCurrentContext()!;

		//origin at right angle
		c.translateBy(
			x: (bounds.width + length) / 2,
			y: (bounds.height + length) / 2);
		c.scaleBy(x: 1, y: -1);

		c.beginPath();
		c.move(to: CGPoint(x: 0.0, y: 0.0));        //lower right vertex (the right angle)
		c.addLine(to: CGPoint(x: 0.0, y: length));  //upper right vertex
		c.addLine(to: CGPoint(x: -length, y: 0.0)); //lower left vertex
		c.closePath();                              //back to starting point

		c.setFillColor(red: 1.0, green: 0.0, blue: 0.0, alpha: 1.0);
		c.fillPath();
	}
Change the above
fillPath()
to
strokePath(),
and change
setFillColor(red:green:blue:alpha:)
to
setStrokeColor(red:green:blue:alpha:).
Blue ink would be nice.
Now that we’re stroking,
set the
line
width
to 10 before calling
strokePath().
You could also set the
line
join
and
line
cap;
see
Parameters
That Affect Stroking.
fillPath()
and
strokePath()
erase the current path from the computer’s memory
as they draw it on the screen.
To draw the same path more than once,
you must store the path in a variable of type
CGMutablePath.
It’s like a rubber stamp that can be stamped more than once.
There is no need to call
CGPathRelease
in Swift.
	override func draw(_ rect: CGRect) {
		//Fill and stroke the same right triangle.
		let minimum: CGFloat = min(bounds.width, bounds.height);
		let length: CGFloat = minimum * 5 / 8;	//of side

		let p: CGMutablePath = CGMutablePath();   //right triangle
		p.move(to: CGPoint(x: 0.0, y: 0.0));      //lower right vertex (the right angle)
		p.addLine(to: CGPoint(x: 0, y: length));  //upper right vertex
		p.addLine(to: CGPoint(x: -length, y: 0)); //lower left vertex
		p.closeSubpath();

		let c: CGContext = UIGraphicsGetCurrentContext()!;
		//Origin at right angle.
		c.translateBy(
			x: (bounds.width + length) / 2,
			y: (bounds.height + length) / 2);
		c.scaleBy(x: 1, y: -1);

		c.beginPath();
		c.addPath(p);
		c.setFillColor(red: 1.0, green: 0.0, blue: 0.0, alpha: 1.0); //red
		c.fillPath();

		c.beginPath();
		c.addPath(p);
		c.setLineWidth(10.0);
		c.setStrokeColor(red: 0.0, green: 0.0, blue: 1.0, alpha: 1.0); //blue
		c.strokePath();
	}