Icon and Launch Screen

Give the Hello, World! app an icon. Read Apple’s pep talk about icons in the iOS Human Interface Guidelines (HIG). For artistic ideas, google for “iPhone icon” or copy your face out of the class photo. Remember that the corners of the icon will be rounded. Convert the image to to PNG format, if necessary, using the Macintosh application Preview.app (which can also crop) or an online image converter. Or just use the unartistic yellow images shown below.

Source code in Hello.zip

  1. AppDelegate.swift: unchanged.
  2. ViewController.swift: unchanged.
  3. View.swift: the drawRect method draws the text below the status bar (exercise 2 of Hello, World!).
  4. Main.storyboard: changed the class of the view controller’s UIView to my class View.
  5. LaunchScreen.storyboard: I changed the background color to yellow (rgb 1, 1, 0, with an alpha of 1).
  6. Assets.xcassets, an Xcode asset catalog file.
    1. AppIcon.appiconset
      1. Contents.json: a JSON file listing the six .png files I added to the app as icons. The JSON file gives the following information for each .png file:
        • size: dimensions of the .png file in points
        • idiom: whether the .png file is intended for use on iPhone or iPad
        • filename: of the .png file
        • scale: the number of pixels per point (2 or 3)
      2. Icon29x29@2x.png (58 × 58 pixels)
      3. Icon29x29@3x.png (87 × 87 pixels)
      4. Icon40x40@2x.png (80 × 80 pixels)
      5. Icon40x40@3x.png (120 × 120 pixels)
      6. Icon60x60@2x.png (120 × 120 pixels)
      7. Icon60x60@3x.png: (180 × 180 pixels)
  7. Info.plist: unchanged.

The six icon files

In the Xcode Project Navigator, select the Xcode asset catalog file Assets.xcassets. In the center panel of Xcode, select AppIcon. You will see six empty squares into which you can drag image files. To take a screenshot of the Xcode window, see Take a screenshot of a window.

Create six .png files like the following, but much more artistic. I’m sticking with the filenames we had to use in earlier versions of iOS. Save them on your Mac Desktop. Then drag them one by one into the six empty squares above.

2x
(2 pixels per point)
3x
(3 pixels per point)
29 points
Icon29x29@2x.png
(58 × 58 pixels)

Icon29x29@3x.png
(87 × 87 pixels)
40 points
Icon40x40@2x.png
(80 × 80 pixels)

Icon40x40@3x.png
(120 × 120 pixels)
60 points
Icon60x60@2x.png
(120 × 120 pixels)

Icon60x60@3x.png
(180 × 180 pixels)

I made the six .png files by running this shellscript on my Fedora Linux machine oit2.scps.nyu.edu. It uses the Netpbm library.

Run the project.

Run your project. Then press the iPhone Home button on the simulator
Hardware → Home
and you should see your icon. If you pull down the Simulator’s Hardware menu and select a different device, your app may get an icon with a different size.

Things to try

  1. Give your app icons for iOS 7–9. Observe that your app gets the 180 × 180 icon on the iPhone 6s Plus simulator (as in the screenshot at the top of this page), and the 120 × 120 icon on the iPhone 6s simulator.

  2. The purpose of a launch screen is to fool the user into believing that the app is already running.
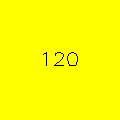
 For example, we can display a yellow background and the word “IBM:” before the app starts running.
    IBM:
    IBM: 184.42
    It may take several seconds for our app to launch. Let’s display a launch screen to make the user believe the app is already running. To keep it simple, our launch screen will be plain yellow with no text.
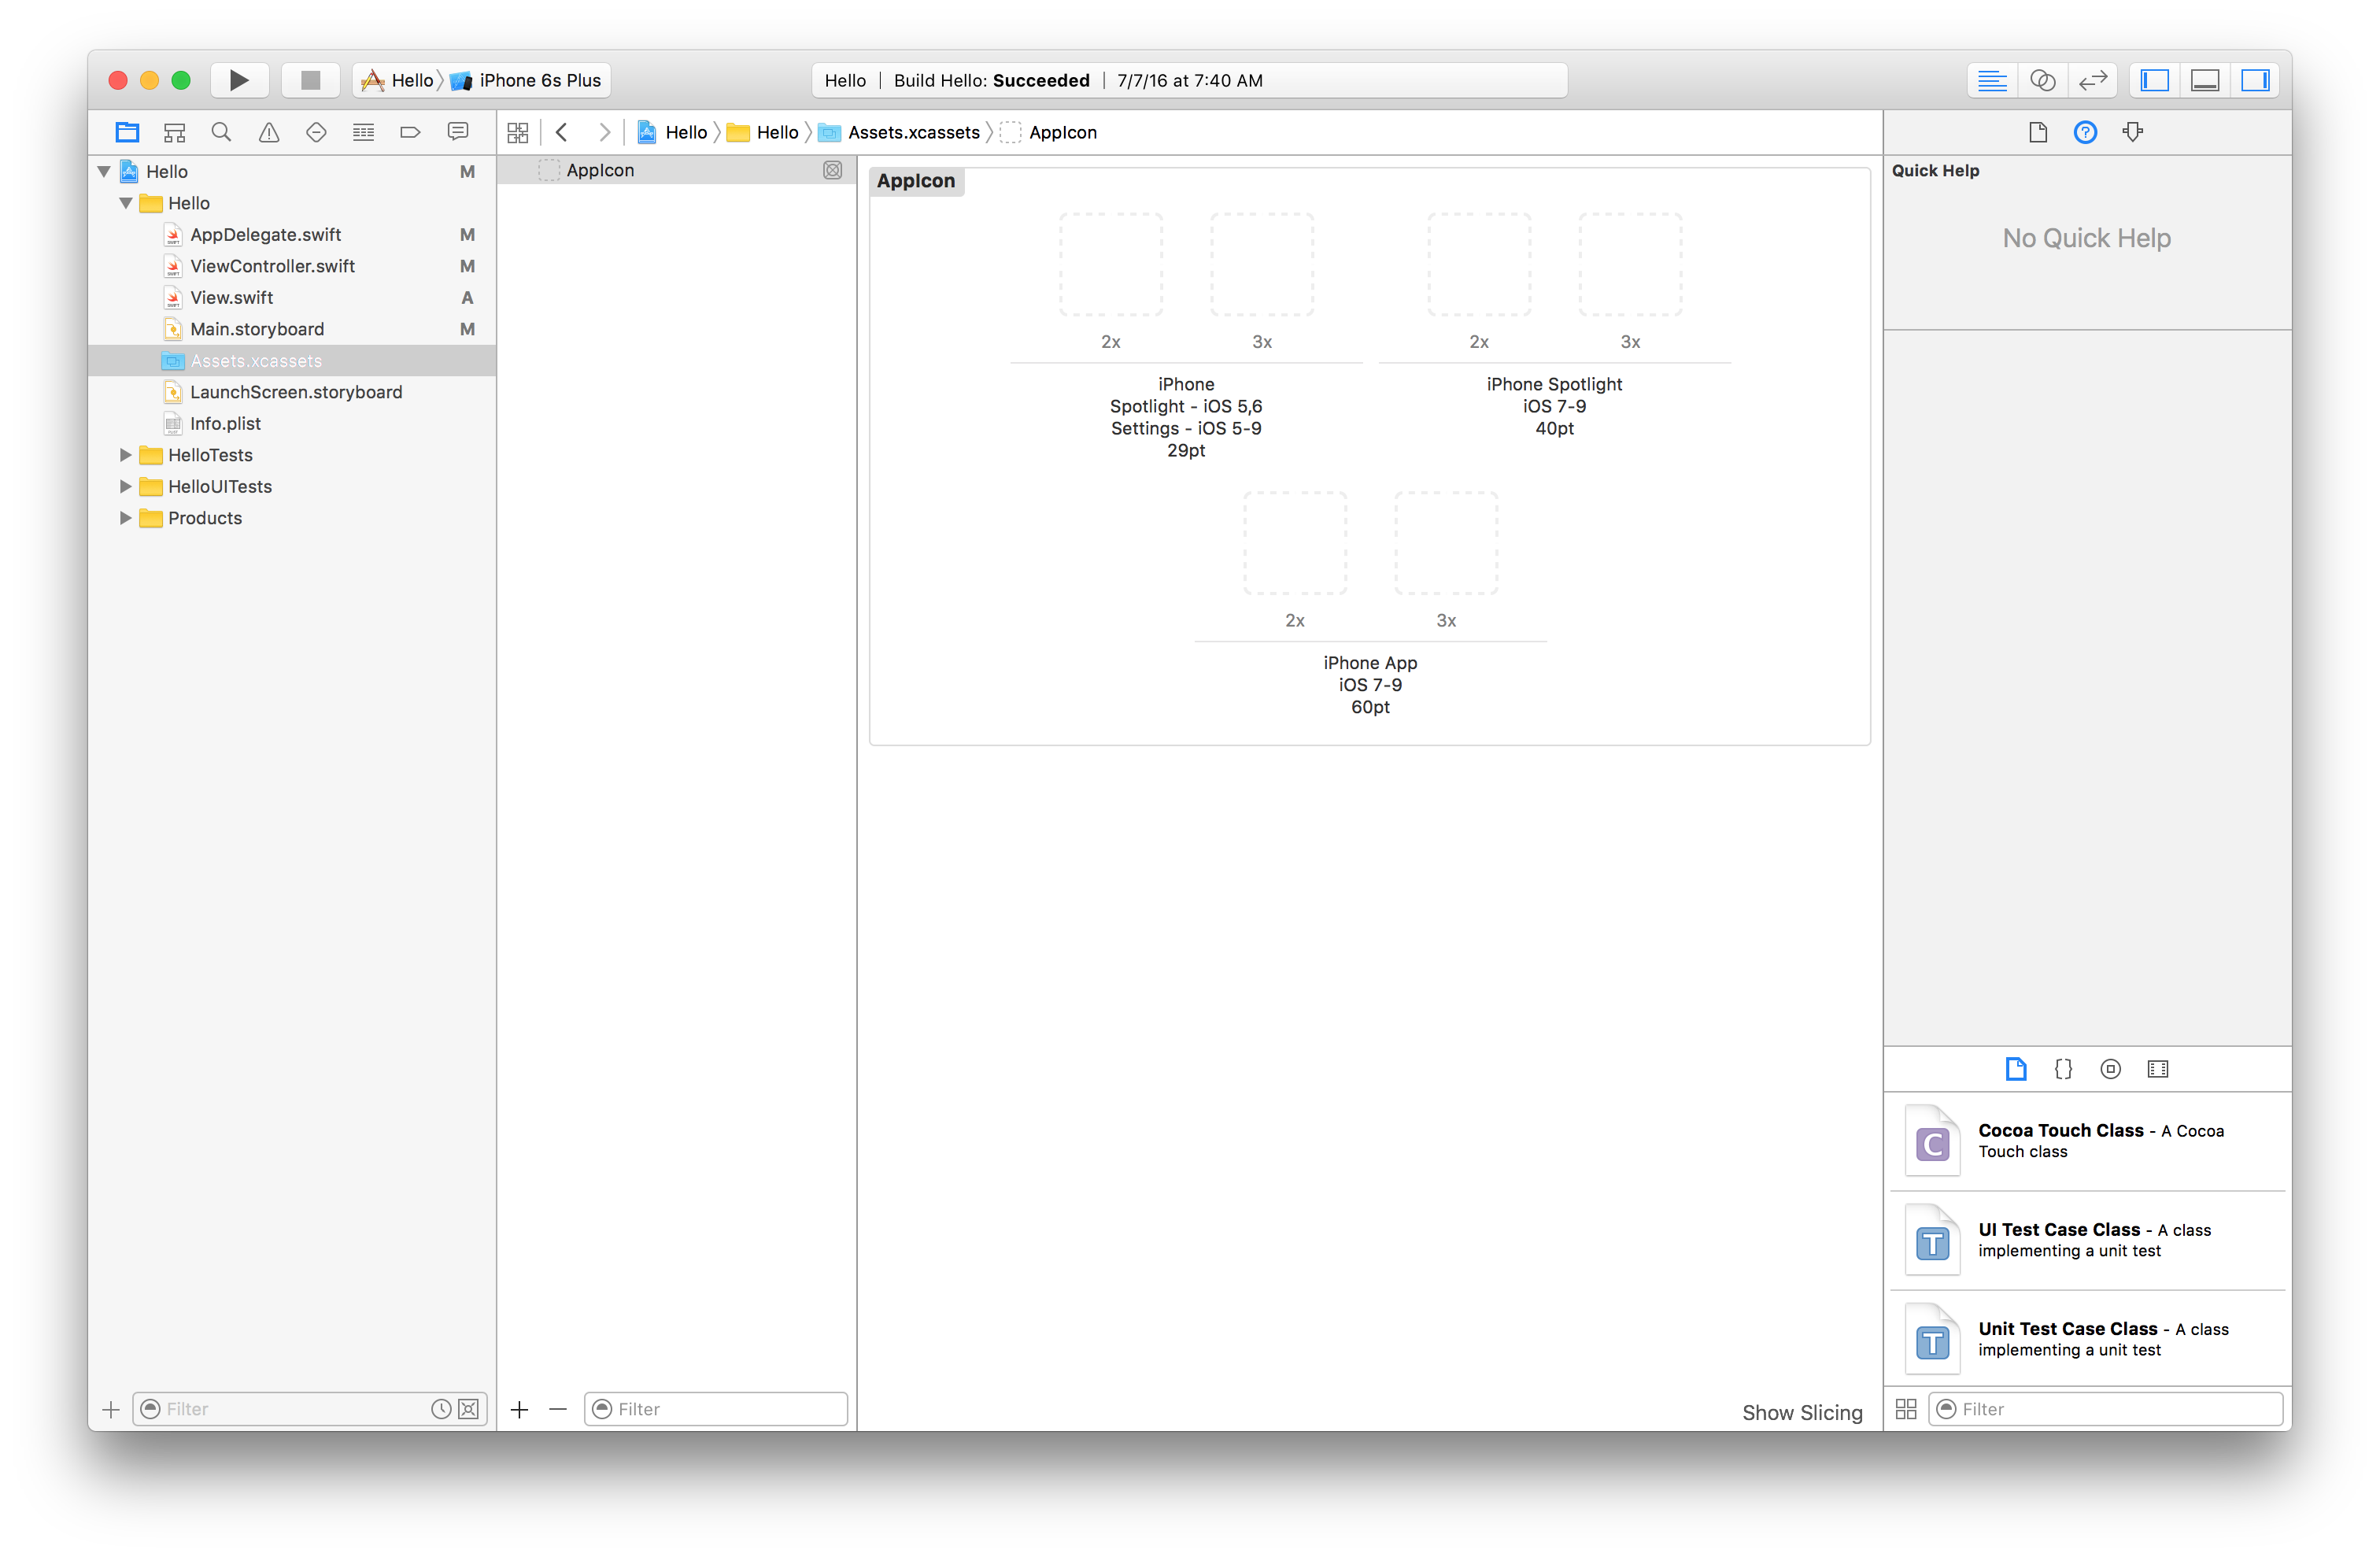
    In the Xcode Project Navigator, select the file LaunchScreen.storyboard.

    ▼Hello
       ▼Hello
          LaunchScreen.storyboard

    In the upper left corner of the center panel of Xcode, open the View Controller Scene menu and select View.

    ▼View Controller Scene
       ▼View Controller
          Top Layout Guide
          Bottom Layout Guide
          View

    The center panel of Xcode will display a big, blue square UIView. At the top of the right panel of Xcode, select the icon for the Attributes inspector. It looks like a pentagonal home plate with a horizontal bar through it. In the Attributes inspector, change the background color of the view from white to yellow.

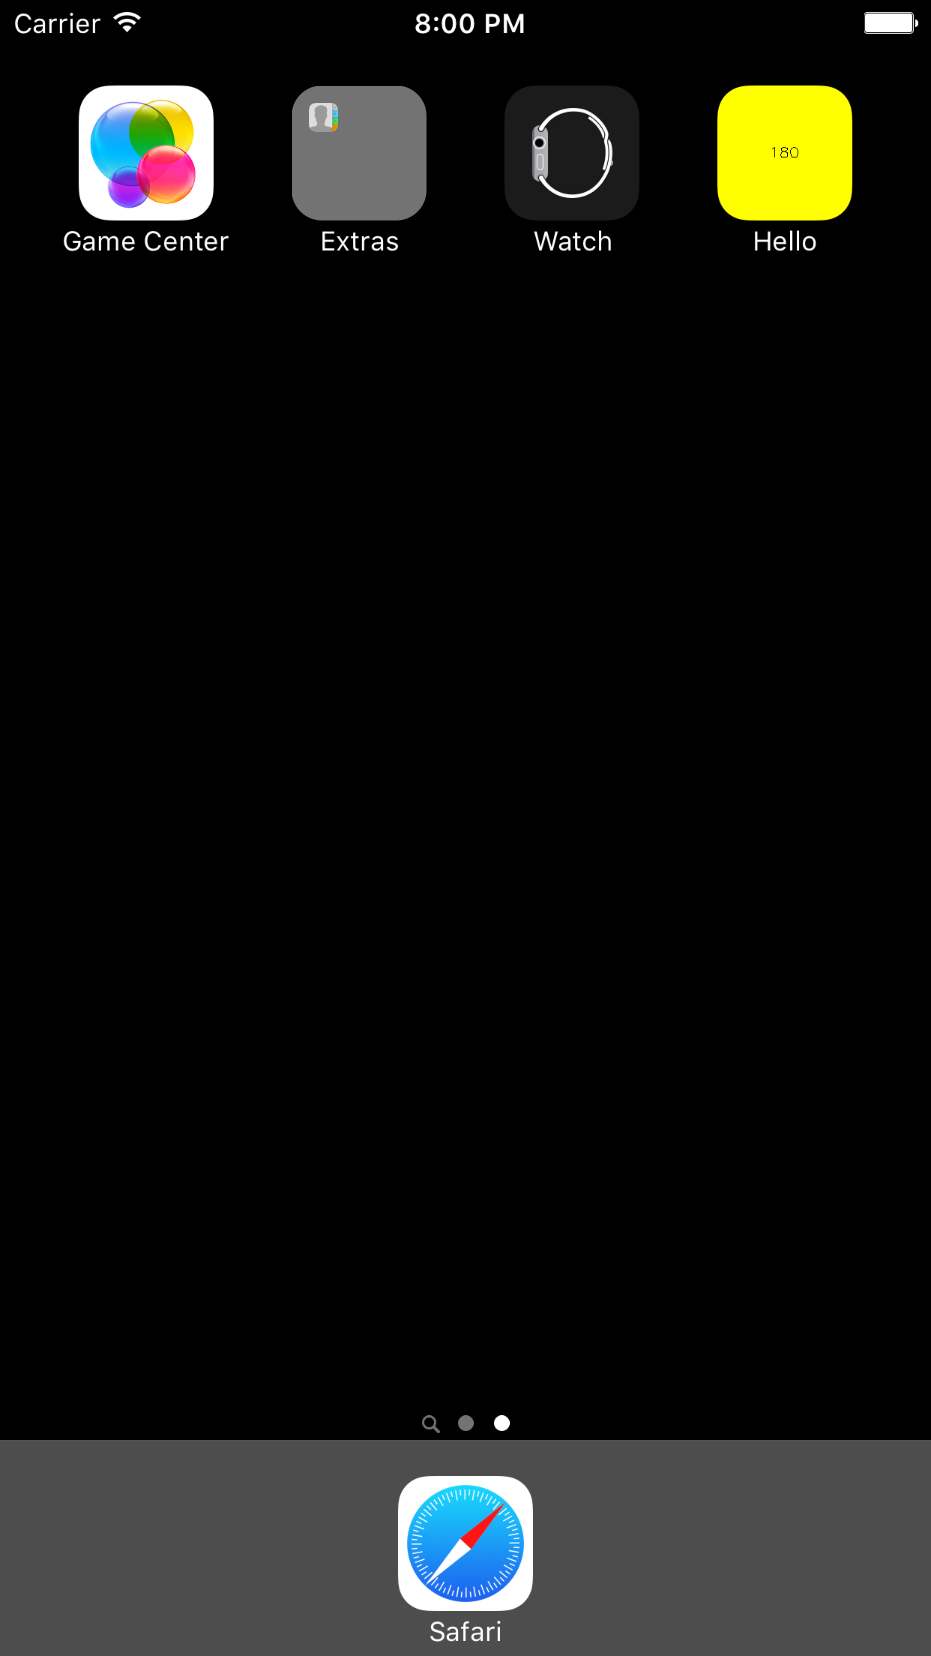
    Run the project again. The screen should turn yellow, and then the temperature text will appear in it. The user will believe that the app started running when the yellow color appeared, and is (falsely) reassured. In reality, the app started running when the text appeared.

    For a more complicated launch screen, see Create and Set the iOS Launch Screen File .