Hello.zip
from the previous project
(Icon).
In the
drawRect(_:)
method of class
View,
change
let s: String = "Hello, World!";to
let s: String = NSLocalizedString("Greeting", comment: "displayed when app is launched");See Separating User-Facing Text from Your Code.
View.swift
file that you just edited.
Select
View.swift
in the Xcode
Project
Navigator
and pull down
View → Utilities → Show File Inspector
In the File Inspector in the right panel of Xcode, under Identity and Type, the full pathname of
View.swift
is
/Users/myname/Desktop/Hello/Hello/View.swift,
assuming that the project is named
Hello
and is stored on your Desktop.
This means that the folder that contains
View.swift
is
/Users/myname/Desktop/Hello/Hello.
Localizable.strings
and place it in the
Base.lproj
folder.
See
Creating
Strings Files for User-Facing Text in Your Code.
Open the Mac Terminal application and go to the folder you just found.
cd /Users/myname/Desktop/Hello/Hello
pwd
/Users/myname/Desktop/Hello/Hello

ls -l *.swift
-rw-r--r--@ 1 myname  mygroup  2050 Jul  5 20:03 AppDelegate.swift
-rw-r--r--@ 1 myname  mygroup   911 Jul 17 08:18 View.swift
-rw-r--r--@ 1 myname  mygroup   469 Jul  5 20:03 ViewController.swift

ls -ld Base.lproj
drwxr-xr-x@ 5 myname  mygroup  170 Jul 17 09:07 Base.lproj

which genstrings
/usr/bin/genstrings

genstrings
Usage: genstrings [OPTION] file1.[mc] ... filen.[mc]
etc.

genstrings -o Base.lproj *.swift

ls -l Base.lproj/Localizable.strings
-rw-r--r--  1 myname  mygroup   128 Jul 17 09:51 Localizable.strings

cat Base.lproj/Localizable.strings
??/* displayed when app is launched */
"Greeting" = "Greeting";

od -c Base.lproj/Localizable.strings
0000000  377 376   /  \0   *  \0      \0   d  \0   i  \0   s  \0   p  \0
0000020    l  \0   a  \0   y  \0   e  \0   d  \0      \0   w  \0   h  \0
0000040    e  \0   n  \0      \0   a  \0   p  \0   p  \0      \0   i  \0
0000060    s  \0      \0   l  \0   a  \0   u  \0   n  \0   c  \0   h  \0
0000100    e  \0   d  \0      \0   *  \0   /  \0  \n  \0   "  \0   G  \0
0000120    r  \0   e  \0   e  \0   t  \0   i  \0   n  \0   g  \0   "  \0
0000140       \0   =  \0      \0   "  \0   G  \0   r  \0   e  \0   e  \0
0000160    t  \0   i  \0   n  \0   g  \0   "  \0   ;  \0  \n  \0  \n  \0
The
Localizable.strings
file consists of 16-bit characters.
The first 16-bit character in the file is the
byte order mark.
od -c
displays each 16-bit character as two separate bytes.
Localizable.strings,
add it to the project.
Select the project
Hello
at the top of the Xcode
Project
Navigator
and pull down
File → Add Files to "Hello"…
Select
Hello/Base.lproj/Localizable.strings
and press Add.
Note that
Localizable.strings
is now listed in the Xcode
Project
Navigator.
InfoPlist.strings
and place it in the
Base.lproj
folder with
Localizable.strings.
At the top of the Xcode
Project
Navigator,
select the project
Hello
and pull down
File → New → File…
Choose a template for your new file.
In the upper left, select iOS Resource. In the upper right, select Strings File and press Next.
Save As:
InfoPlist.strings
in the folder
Hello/Hello/Base.lproj.
Note that
InfoPlist.strings
is now listed in the Xcode
Project
Navigator.
es.lproj
and
ar.lproj.
At the top of the Xcode
Project
Navigator,
select the project
Hello.
At the top of the center panel of Xcode,
to the left of the word General,
click on the word Hello and select Project Hello from the list that pops up.
At the bottom of the center panel,
make sure Use Base Internationalization is checked.
Under Localizations, press the plus sign and select Spanish (es).
A window will pop up that says
Choose files and reference language to create Spanish localization.
Make sure
Localizable.strings
and
InfoPlist.strings
are checked and press Finish.
Also add Arabic (ar) to the project.
Then at the upper left of the center panel of Xcode,
where we selected Project Hello from the pop-up list,
change it back to the original Targets Hello.
Base.lproj,
es.lproj,
and
ar.lproj,
each containing files named
Localizable.strings
and
InfoPlist.strings.
Select
Localizable.strings
(Base)
in the Xcode
Project
Navigator
and change it from
/* displayed when app is launched */
"Greeting" = "Greeting";
to
/* displayed when app is launched */
"Greeting" = "Hello, World!";
Select
Localizable.strings
(Spanish)
in the Xcode
Project
Navigator
and change its last line to
"Greeting" = "¡Hola, Mundo!";Select
Localizable.strings
(Arabic)
in the Xcode
Project
Navigator
and change its last line to
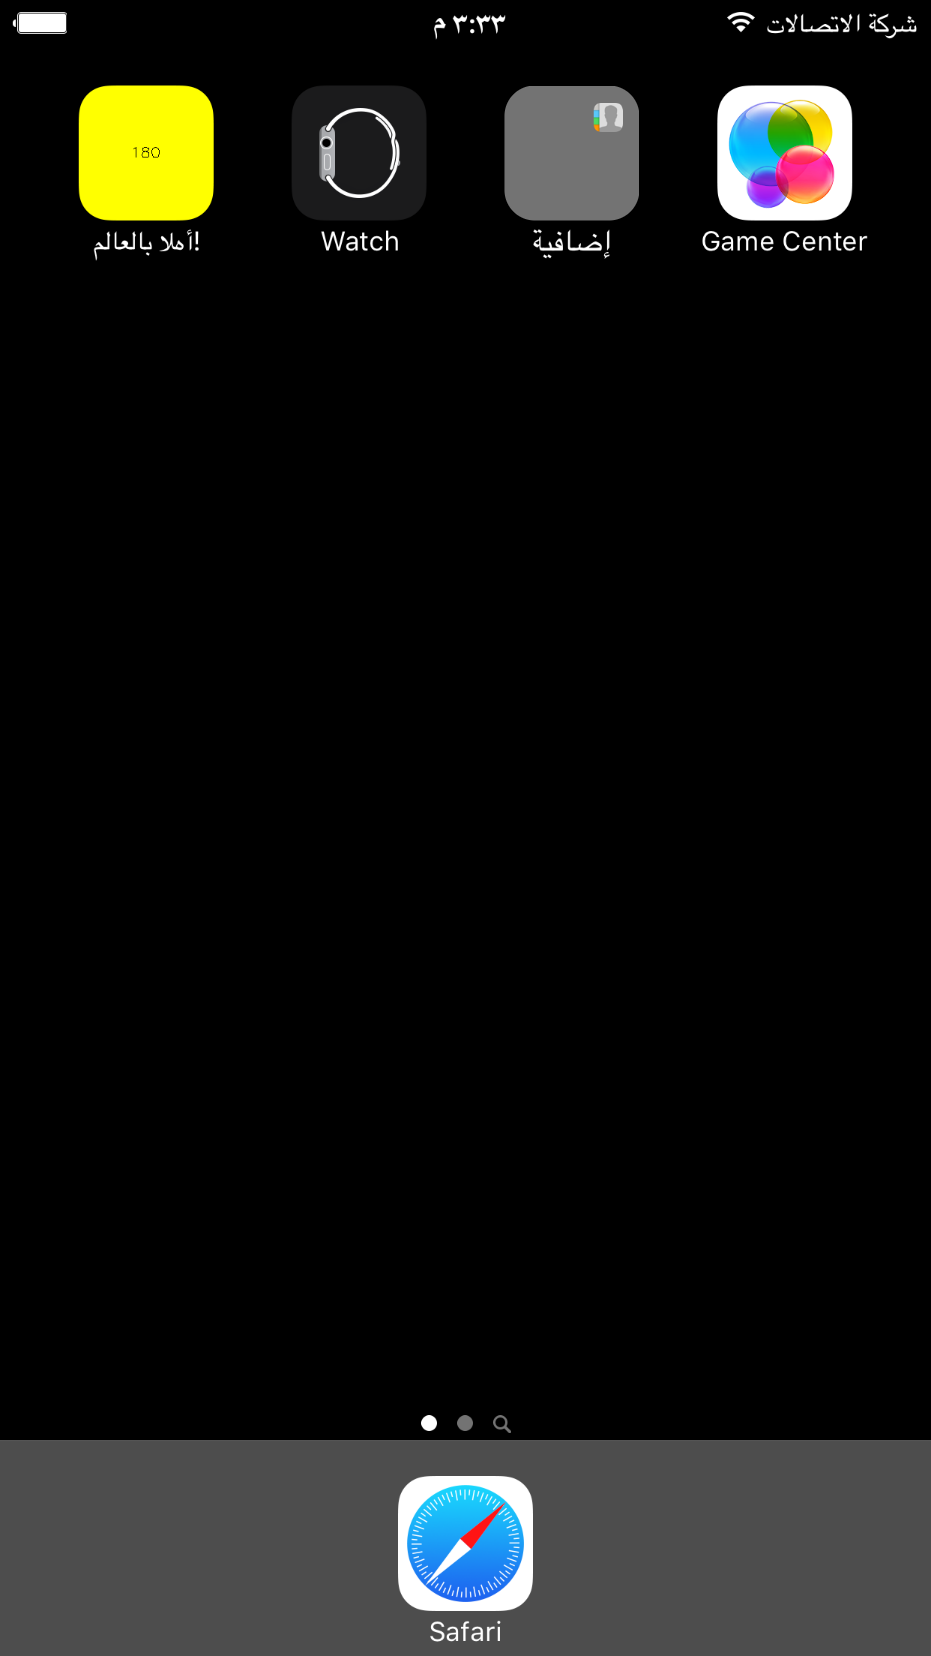
"Greeting" = "!أهﻼ بالعالم";
Info.plist
file.
Select
InfoPlist.strings
(Base)
in the Xcode
Project
Navigator
and change it from
/*
  InfoPlist.strings
  Hello

  Created by Mark Meretzky on 7/18/16.
  Copyright © 2016 Mark Meretzky. All rights reserved.
*/
to
/*
  InfoPlist.strings
  Hello

  Created by Mark Meretzky on 7/18/16.
  Copyright © 2016 Mark Meretzky. All rights reserved.
*/
CFBundleDisplayName = "Hello, World!";
Select
InfoPlist.strings
(Spanish)
in the Xcode
Project
Navigator
and append the following line to it.
CFBundleDisplayName = "¡Hola, Mundo!";Select
InfoPlist.strings
(Arabic)
in the Xcode
Project
Navigator
and append the following line to it.
CFBundleDisplayName = "!أهﻼ بالعالم";
-
Launch the Settings app
in the iPhone Simulator and select
Settings → General → Language & Region → iPhone Language → Español
Done
Cambiando idioma…
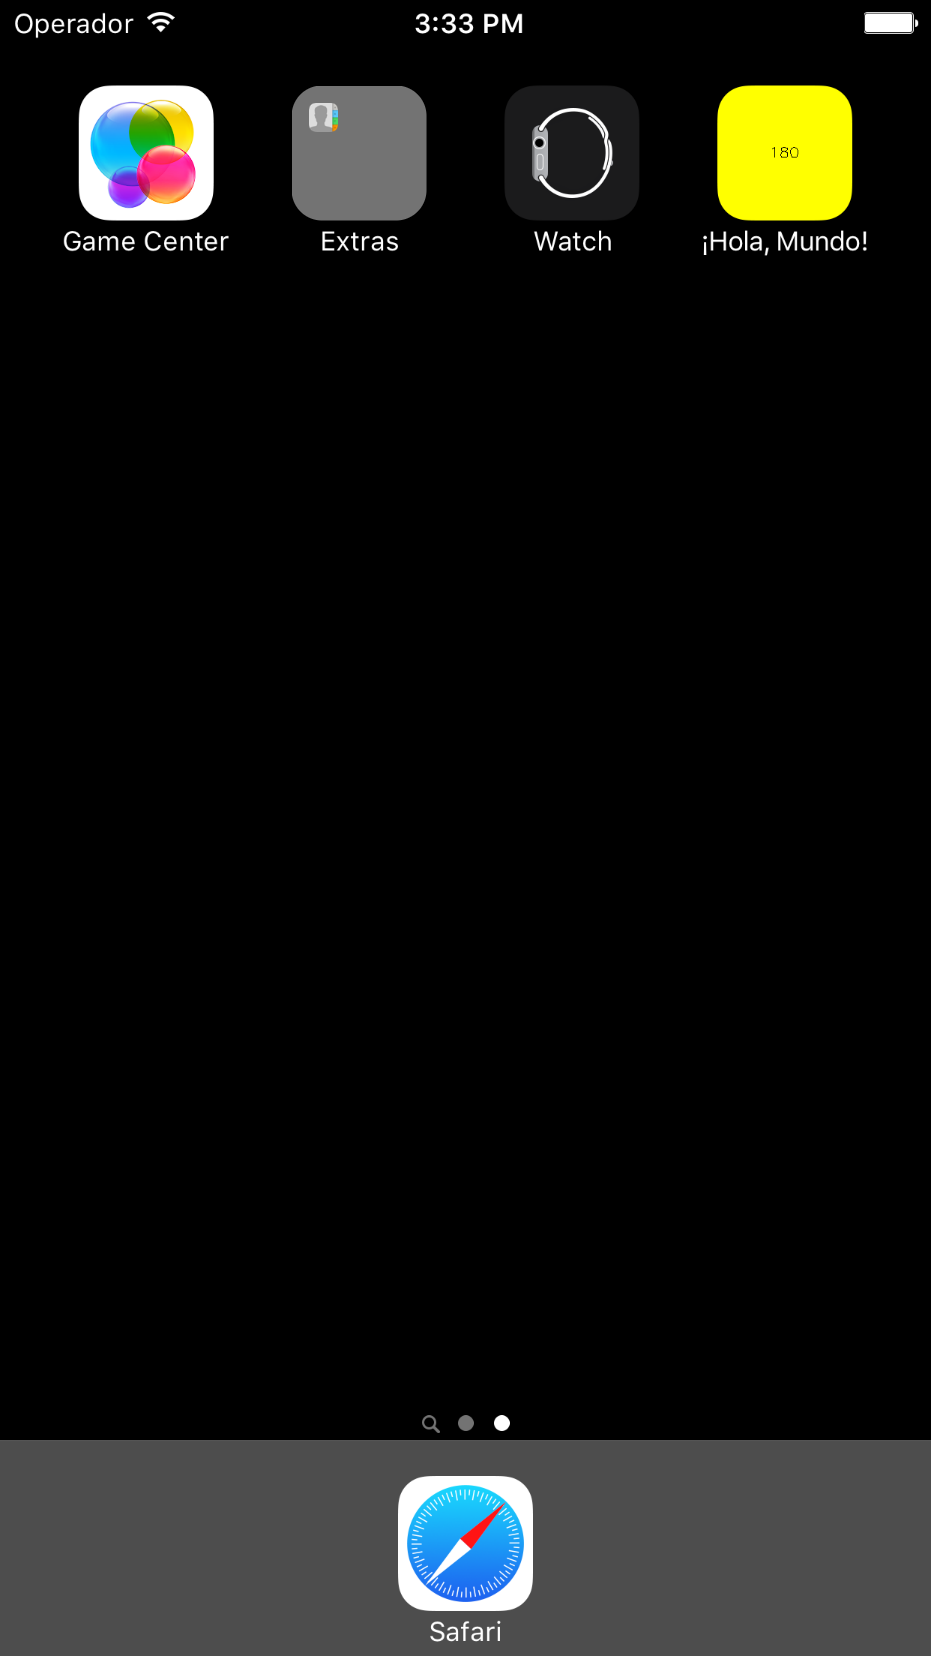
Press the Xcode Run button. The iOS Simulator will run in Spanish (“Operador”). -
In Xcode, pull down
Product → Scheme → Edit Scheme → Run (in left panel) → Options (in right panel)
Application Language: Spanish
Press Close. Run the app again.


Settings →
General →
International →
Region Format →
Spanish → Spain

Done