~/Library/Android/sdk/platforms/android-22/data/res/layout/simple_list_item_2.xml
contains the following
TwoLineListItem.
The second
TextView
can have
android:layout_below
and
android:layout_alignStart
because
TwoLineListItem
is a subclass of
relativeLayout.
<?xml>
and copyright omitted.
The
android:id
attributes need no plus signs because the values
android.R.id.text1
and
android.R.id.text2
are built into the SDK.
<TwoLineListItem xmlns:android="http://schemas.android.com/apk/res/android"
    android:layout_width="match_parent"
    android:layout_height="wrap_content"
    android:minHeight="?attr/listPreferredItemHeight"
    android:mode="twoLine"
    android:paddingStart="?attr/listPreferredItemPaddingStart"
    android:paddingEnd="?attr/listPreferredItemPaddingEnd">

    <TextView android:id="@id/text1"
        android:layout_width="match_parent"
        android:layout_height="wrap_content"
        android:layout_marginTop="8dp"
        android:textAppearance="?attr/textAppearanceListItem" />

    <TextView android:id="@id/text2"
        android:layout_width="match_parent"
        android:layout_height="wrap_content"
        android:layout_below="@id/text1"
        android:layout_alignStart="@id/text1"
        android:textAppearance="?attr/textAppearanceListItemSecondary" />

</TwoLineListItem>
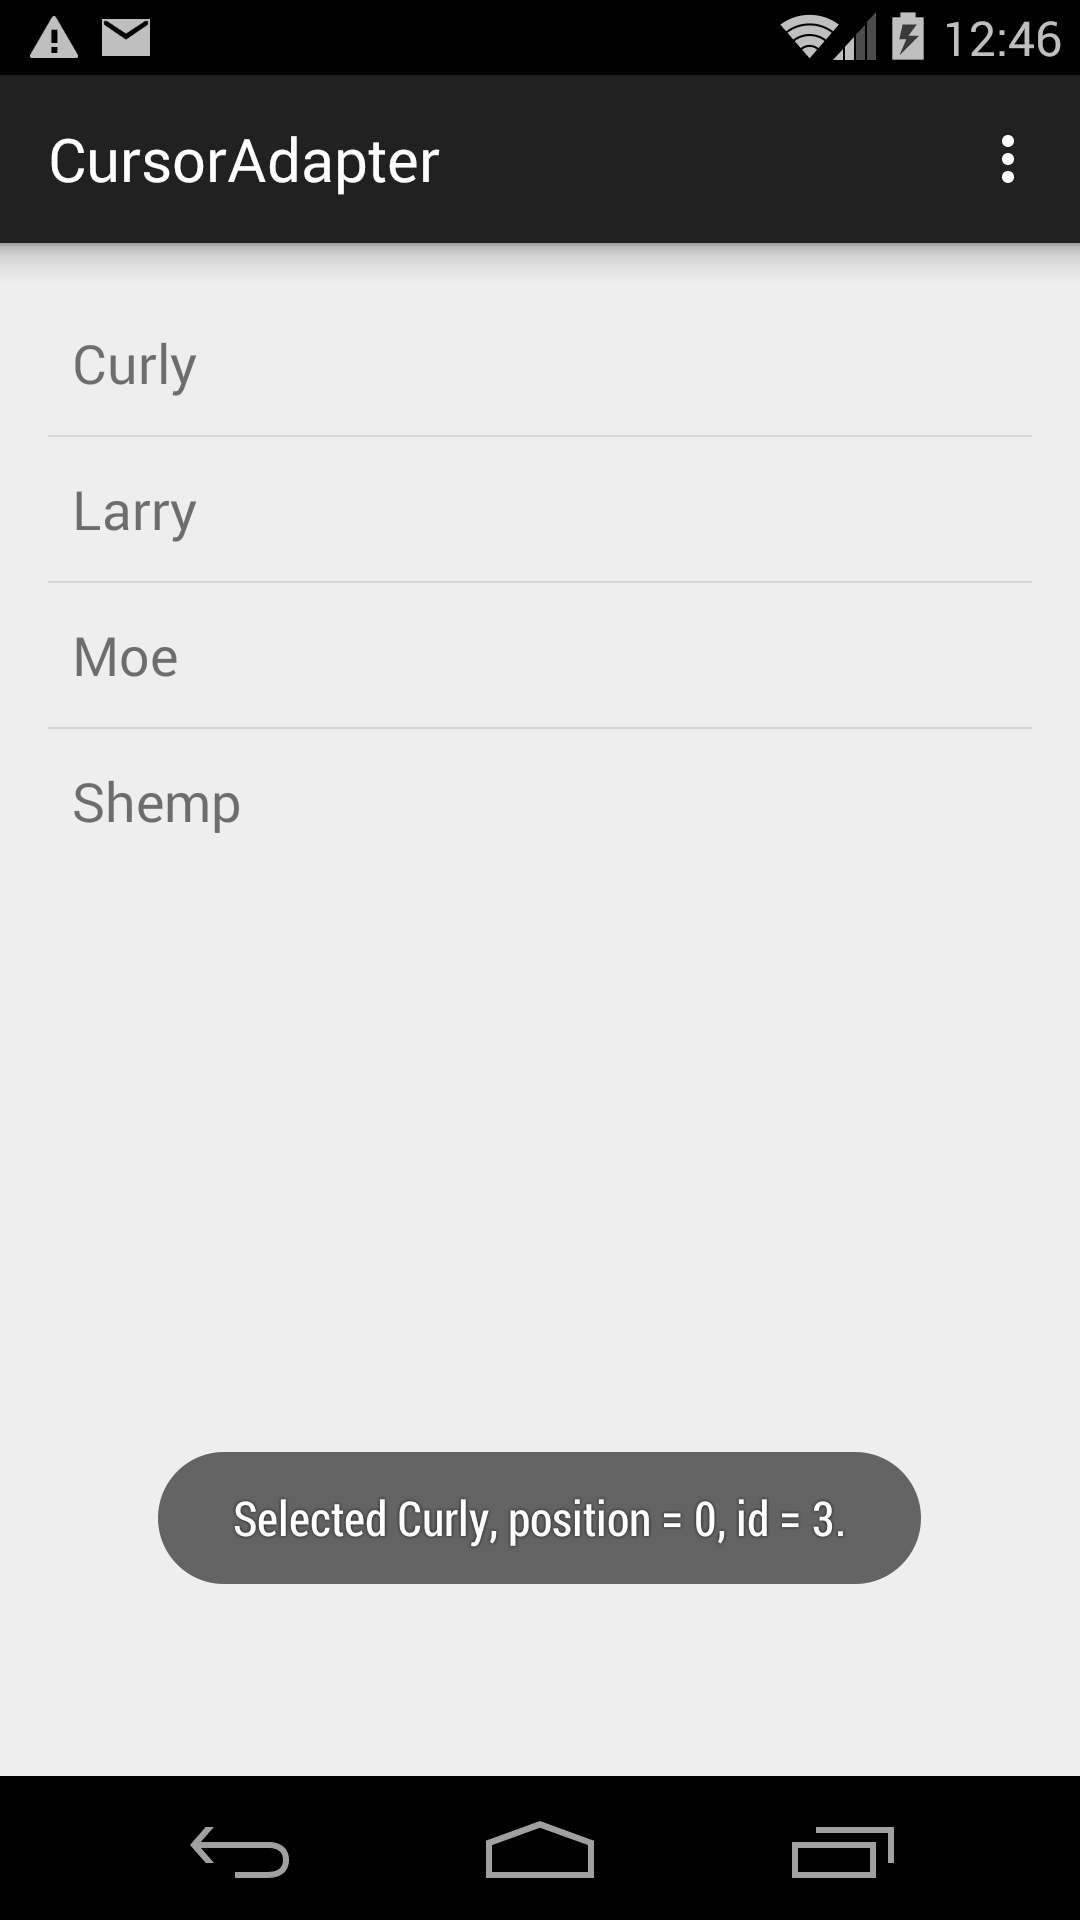
        SimpleCursorAdapter adapter = new SimpleCursorAdapter(
            this,
            android.R.layout.simple_list_item_2,
            null,
            new String[] {ContactsContract.Contacts.DISPLAY_NAME, ContactsContract.Contacts._ID},
            new int[]    {android.R.id.text1,                     android.R.id.text2},
            0	//flags
        );
Since class
TwoLineListItem
is now deprecated,
you could create the following file
simple_list_item_2.xml
containing a
LinearLayout
in place of the
TwoLineListItem.
I had to change some of the attributes in the above file
simple_list_item_2.xml
to get them to compile for older versions of Android.
In the Android Studio
project
view,
select the folder
app/res/layout
and pull down
File → New… → Layout resource file
New Resource File
File name: simple_list_item_2
Root element: LinearLayout
OK
<?xml version="1.0" encoding="utf-8"?>
<LinearLayout
    xmlns:android="http://schemas.android.com/apk/res/android"
    android:layout_width="match_parent"
    android:layout_height="wrap_content"
    android:orientation="vertical"
    android:minHeight="?attr/listPreferredItemHeight"
    android:paddingLeft="?attr/listPreferredItemPaddingLeft"
    android:paddingRight="?attr/listPreferredItemPaddingRight">

    <TextView
        android:id="@+id/text1"
        android:layout_width="match_parent"
        android:layout_height="wrap_content"
        android:layout_marginTop="8dp"
        android:textAppearance="?attr/textAppearanceListItem"/>

    <TextView
        android:id="@+id/text2"
        android:layout_width="match_parent"
        android:layout_height="wrap_content"
        android:textAppearance="?attr/textAppearanceListItemSmall"/>

</LinearLayout>
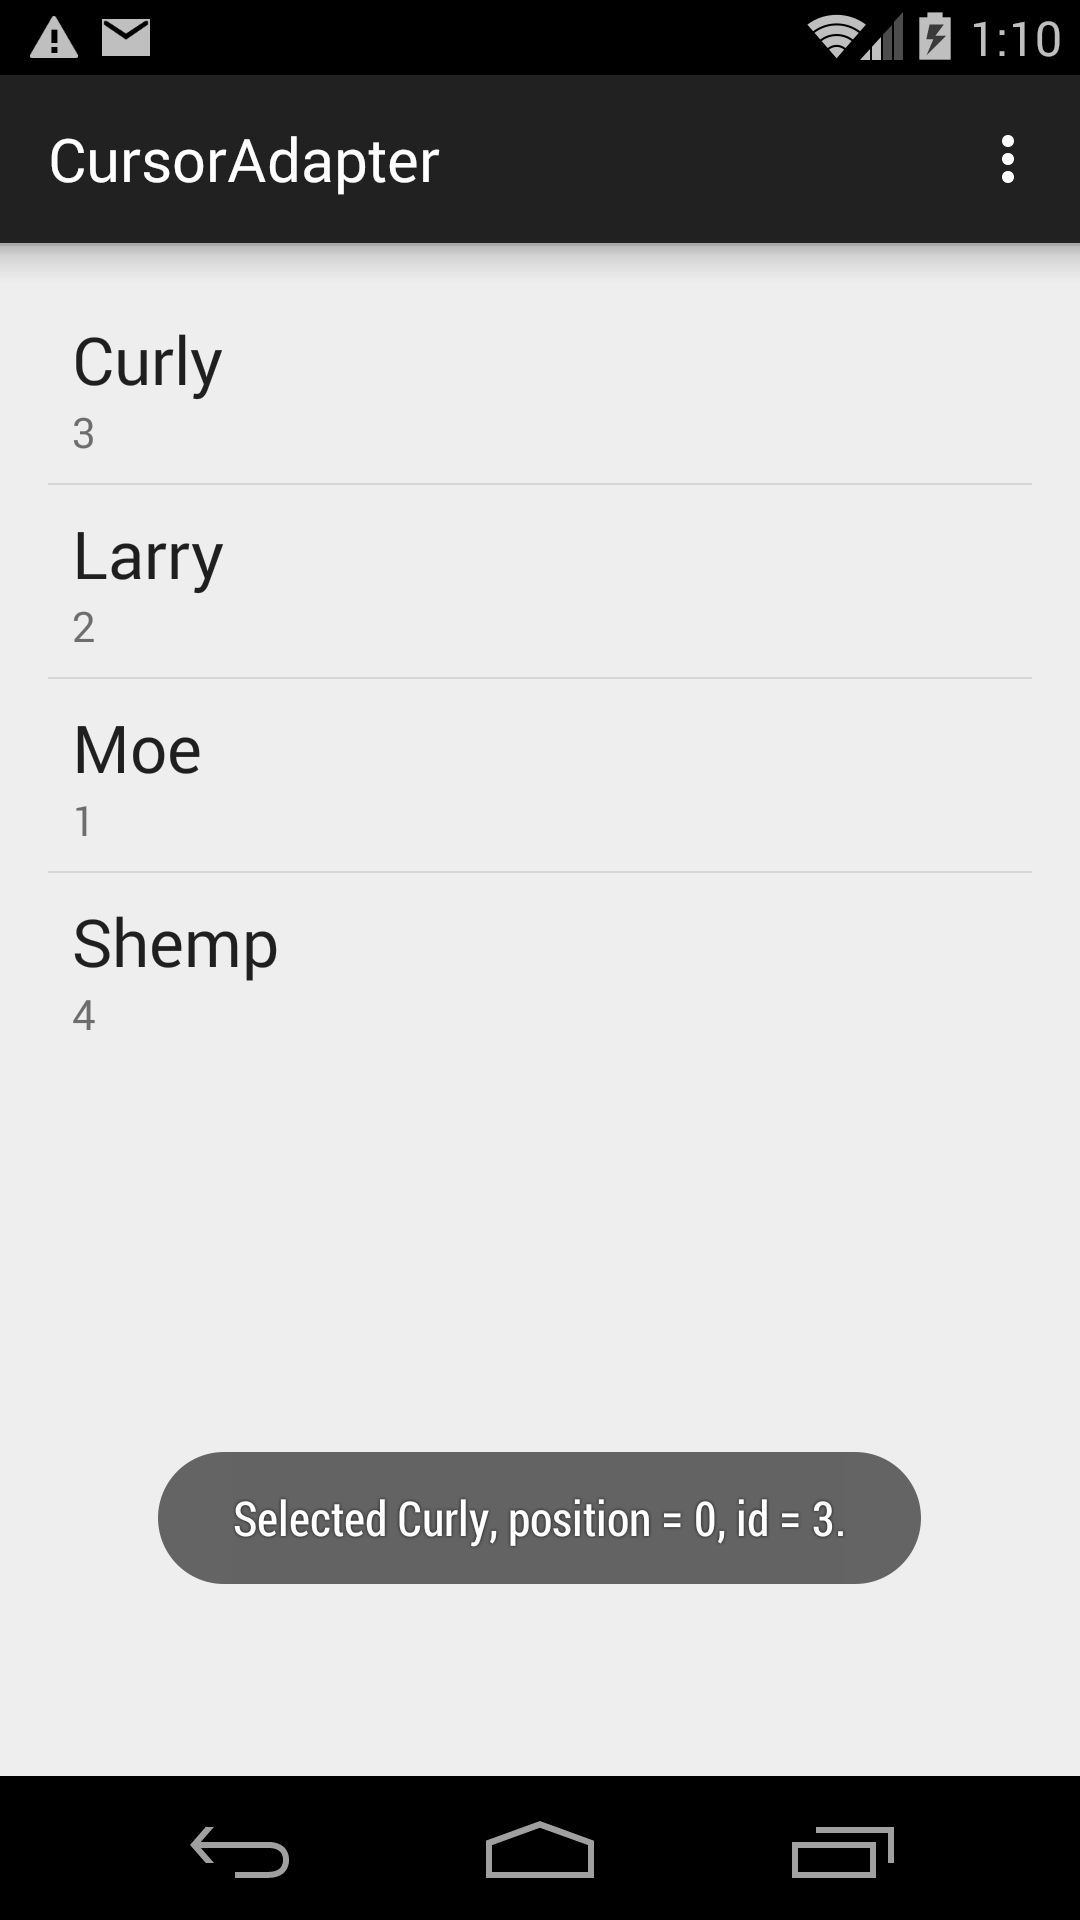
        SimpleCursorAdapter adapter = new SimpleCursorAdapter(
            this,
            R.layout.simple_list_item_2,
            null,
            new String[] {ContactsContract.Contacts.DISPLAY_NAME, ContactsContract.Contacts._ID},
            new int[]    {R.id.text1,                             R.id.text2},
            0	//flags
        );
SimpleCursorAdapter
has called
setText
to set the text of each
TextView.
But now we will call the
setText
ourselves
for the
TextViews
in the display name column.
Insert the following code after creating the
SimpleCursorAdapter.
        adapter.setViewBinder(new SimpleCursorAdapter.ViewBinder() {

            //This method will be called for every column of every row.
            //Most of the time it will do nothing and just return false.
            //But for each TextView belonging to the display name column,
            //it will set the text of the TextView and return true.

            @Override
            public boolean setViewValue(View view, Cursor cursor, int columnIndex) {
                int displayNameIndex = cursor.getColumnIndex(ContactsContract.Contacts.DISPLAY_NAME);
                if (columnIndex == displayNameIndex) {
                    String displayName = cursor.getString(displayNameIndex);
                    ((TextView)view).setText(displayName.toUpperCase());
                    return true; //Indicates that this method has written the text into the TextView.
                }
                return false;    //Indicates that the text still needs to be written into the TextView.
            }
        });