


GetImageFromCurrentImageContext (png)There are four ways to take a picture of the screen of your app.
If your app is running on an iPhone, simultaneously press the Sleep/wake button (upper right on iPhone and iPad, upper left on iPod Touch) and the Home button. This will save a 320 × 480 photo of the screen, including the status bar, in the iPhone’s Photos. You can then mail it to yourself. Oddly, the photo is in jpg format even though Apple recommends png format for images displayed by an app.
If your app is running on an iPhone connected to Xcode,
Window →
Organizer →
Devices → iPhone
Screenshot
Capture
Then drag the big captured image on the left
(a 320 × 480 png, including status bar)
onto the desktop of your Mac.
You can use the resulting image as the app’s
launch image.
Rename it
Default.png,
move it to the app’s folder,
and add it to the project.
Project → Add to Project…
Add
Add
If the app is running on the Simulator,
it can take its own picture.
Paste the following import above the others at the top of the
HelloWorldAppDelegate.m
file.
It is needed for the call to
renderInContext:.
#import <QuartzCore/QuartzCore.h>
Paste the following code into the
application:didFinishLaunchingWithOptions:
method of the
application
delegate
immediately after the call to the
makeKeyAndVisible
method of the
window.
	UIGraphicsBeginImageContext(window.bounds.size);
		[window.layer renderInContext: UIGraphicsGetCurrentContext()];
		UIImage *image = UIGraphicsGetImageFromCurrentImageContext();
	UIGraphicsEndImageContext();

	if (image == nil) {
		NSLog(@"UIGraphicsGetImageFromCurrentImageContext failed");
		return YES;
	}

	NSData *d = UIImagePNGRepresentation(image);
	if (d == nil) {
		NSLog(@"UIImagePNGRepresentation failed");
		return YES;
	}

	NSString *fileName = [NSString stringWithFormat:
		@"%@/snapshot.png", NSHomeDirectory()];

	if (![d writeToFile: fileName atomically: NO]) {
		NSLog(@"writeToFile:atomically: failed");
		return YES;
	}
Then run the app in the simulator.
To
find
the resulting
snapshot.png
file on your Mac,
launch
Terminal.app
and say
find / -type f -name snapshot.png 2> /dev/nullWen I tried it, it found the following file:
/Users/nyuuser/Library/Application Support/iPhone Simulator/4.1/Applications/242571E9-DDDF-4892-84FB-B87486AB909F/snapshot.png
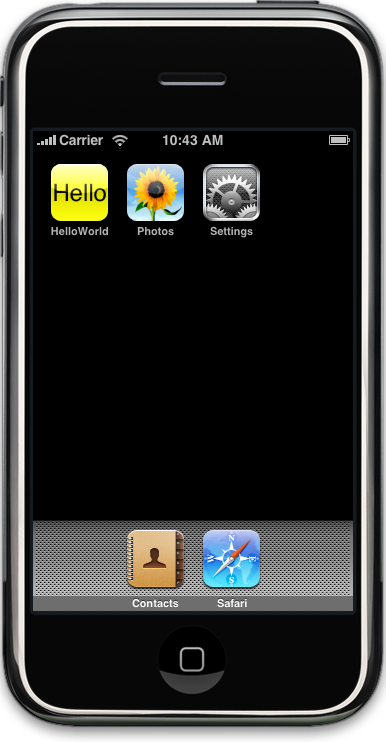
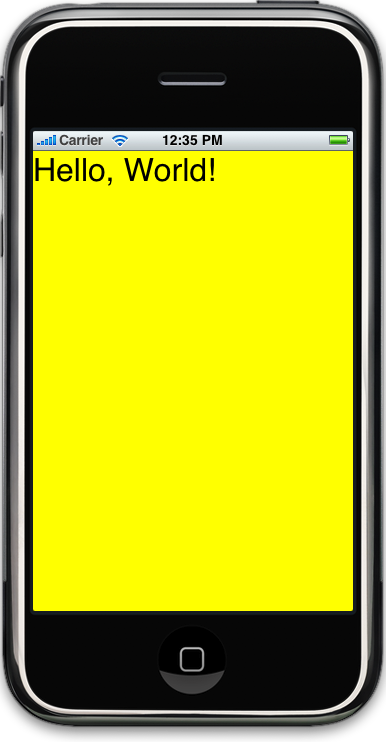
On an iPhone, the image is 320 × 480 pixels, with the top 20 rows occupied by the status bar.
|
|
|
| 1. Sleep and Home buttons (jpg) | 2. Xcode Organizer screenshot (png) | 3. GetImageFromCurrentImageContext (png) |
If the Simulator is simulating an iPhone 4 at scale == 100%
or an iPad at scale == 100%,
select
Window → Zoom
and zoom it to the largest size.
If the largest size still has scrollbars,
scroll to the upper left corner of the picture.
Click on the Simulator and press
Command-Shift-4.
The cursor will turn into a crosshair with x and y coördinates.
Press the space bar to turn the cursor into a camera
and to whiten the Simulator.
Click on the Simulator and you will hear the sound of the shutter.
An image of the simulator will be saved on the Desktop
in a PNG file whose name is in the format
Screen shot 2011-12-31 at 11.59.59 AM.png.
| Portrait | Landscape | |
|---|---|---|
| iPhone | 414 × 770 | 770 × 414 |
| iPhone 4, scale == 50% | 482 × 664 | 642 × 504 |
| iPhone 4, scale == 100% | 859 × 1201 | 1179 × 881 |
| iPad, scale == 50% | 546 × 696 | 674 × 568 |
| iPad, scale == 100% | 987 × 1265 | 1243 × 1009 |
 |
 |
/home1/m/mm64/public_html/cgi-bin/crop_simulatori5.nyu.edu.
You can also photogaph the Simulator with the Mac application
Grab.app.
Go to the finder,
File → Find…

Grab.app
Launch
Grab.app.
Capture → Window
When the window you want is ready, click Choose
Window, then click the window to capture it.
File → Save As…
You can convert the resulting 386 × 742
TIFF
file to
PNG
with
Preview.