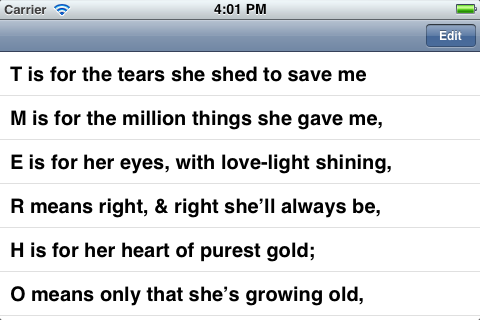
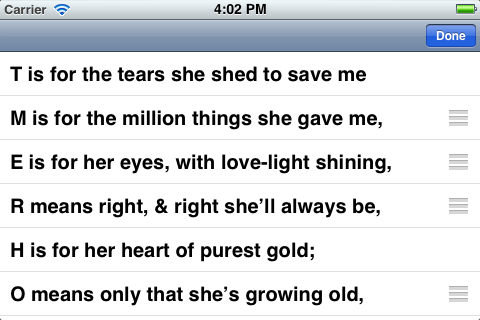
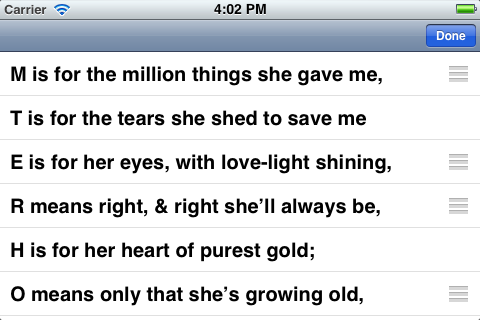
Press Edit and unscramble the mystery word. Press down on the reordering control (horizontal grooves) until the cell is highlighted; then you can drag the cell up or down. Press Done when you’re done.
main.mReorderAppDelegate
creates a
TableViewController
and puts it under a
UINavigationController
to make the
TableViewController’s
navigation bar visible.TableViewController:
the data source has the methods
tableView:canMoveRowAtIndexPath:tableView:moveRowAtIndexPath:toIndexPath:.Reorder-Info.plist
launches the app in
landscape
left.
Remove two of the three
Supported
interface orientatations
in the
Reorder-Info.plistsupportedInterfaceOrientations
method in the view controller.
The table view controller is the table view’s data source and therefore contains the following methods. We have already seen the first three; they hold the data. The next two are new; they rearrange the data.
numberOfSectionsInTableView:tableView:numberOfRowsInSection:tableView:cellForRowAtIndexPath:tableView:canMoveRowAtIndexPath:tableView:moveRowAtIndexPath:toIndexPathThe table view controller is also the table view’s delegate and therefore contains the following method. It prevents each cell from having a red minus sign.
Thanks to the
tableView:canMoveRowAtIndexPath:
tableView:canMoveRowAtIndexPath:
method of class
TableViewController,
change
	if (![initial isEqualToString: @"T"] && ![initial isEqualToString: @"H"]) {
		return YES;
	}
	return NO;
to
return ![initial isEqualToString: @"T"] && ![initial isEqualToString: @"H"];It does the same thing.