This app has one application delegate, one view controller, and one view. The view contains one button. (Since a button is a view, there are actually two views.) The app also has a window, but we’re not interested in it now. These objects will be created with a storyboard. The user will do this by dragging icons off a pallet into the storyboard.
An object contained in a storyboard file is called a
storyboard file object
(a term I invented myself).
An object created by calling methods
(alloc,
init,
etc.) in a
.m
file is called a
normal object.
How can a normal object get the address of a storyboard file object?
Conversely,
how can a storyboard file object call a method that belongs to a normal object?
We will solve these problems with two macros.
A macro is a word that is changed into something else (or into nothing at all) by a word processor called the C preprocessor. The name of a macro is conventionally all uppercase. Examples we have seen, without being aware that they are macros, include the following.
M_PI,
which is changed into
3.14159265348979YES,
which is changed into
1NO,
which is changed into
0nil,
which is changed into a zero of some data type
In a
.h.mIBOutlet
and
IBAction
will catch the attention of the storyboard.
An instance variable that is visible outside its class is called a property.
A property that points to a storyboard file object is called an
outlet.
Its declaration is marked with the macro
IBOutlet
to tell the storyboard that the property is intended to be an outlet.
For example,
the
application
delegate
might contain the following outlet,
which points to a
window
that is a storyboard file object.
@property (strong, nonatomic) IBOutlet UIWindow *window;The macro
IBOutlet
expands
(i.e., is changed by the C preprocessor)
into nothing at all.
#define	M_PI 3.14159265348979	//M_PI is a macro that expands into 3.14159265348979
#define IBOutlet		//IBOutlet is a macro expands into nothing at all.
Since the word
IBOutlet
expands into nothing,
it has no effect on the Objective-C code.
But we use it anyway
because it marks a property
that will eventually point to a storyboard file object.
Outlet documentation in
A method that should be called when a control is touched is called an
action.
Our first example of an action was the
touchUpInside:
method of class
View
in the
Button
app.
An action always returns
void
(no value at all).
But instead of declaring the action to return
void,
declare it to return
IBAction.
This macro expands into the word
void,
so the result is exactly the same.
The macro tells the storyboard
that the method is intended to be an action that is called by a control
that is a storyboard file object.
- (void) someMethod {	//someMethod is probably initWithFrame:
	button = [[UIButton buttonWithType: UIButtonTypeRoundedRect];

	[button addTarget: self
		action: @selector(touchUpInside:)
		forControlEvents: UIControlEventTouchUpInside
	];
}

//The following method is an action.

- (IBAction) touchUpInside: (id) sender {
	NSLog(@"Button is pressed.");
}
File →
New →
File…
Chose a template for your new project: Singe View Application
Next
Choose options for your new project:
Product name: Board
Organization name: nyuguest
Company identifier: edu.nyu.scps
Class Prefix: Board
Devices: iPhone
☑ Use Storyboards
☑ Use Automatic Reference Counting
☐ Include Unit Tests
Next
Create
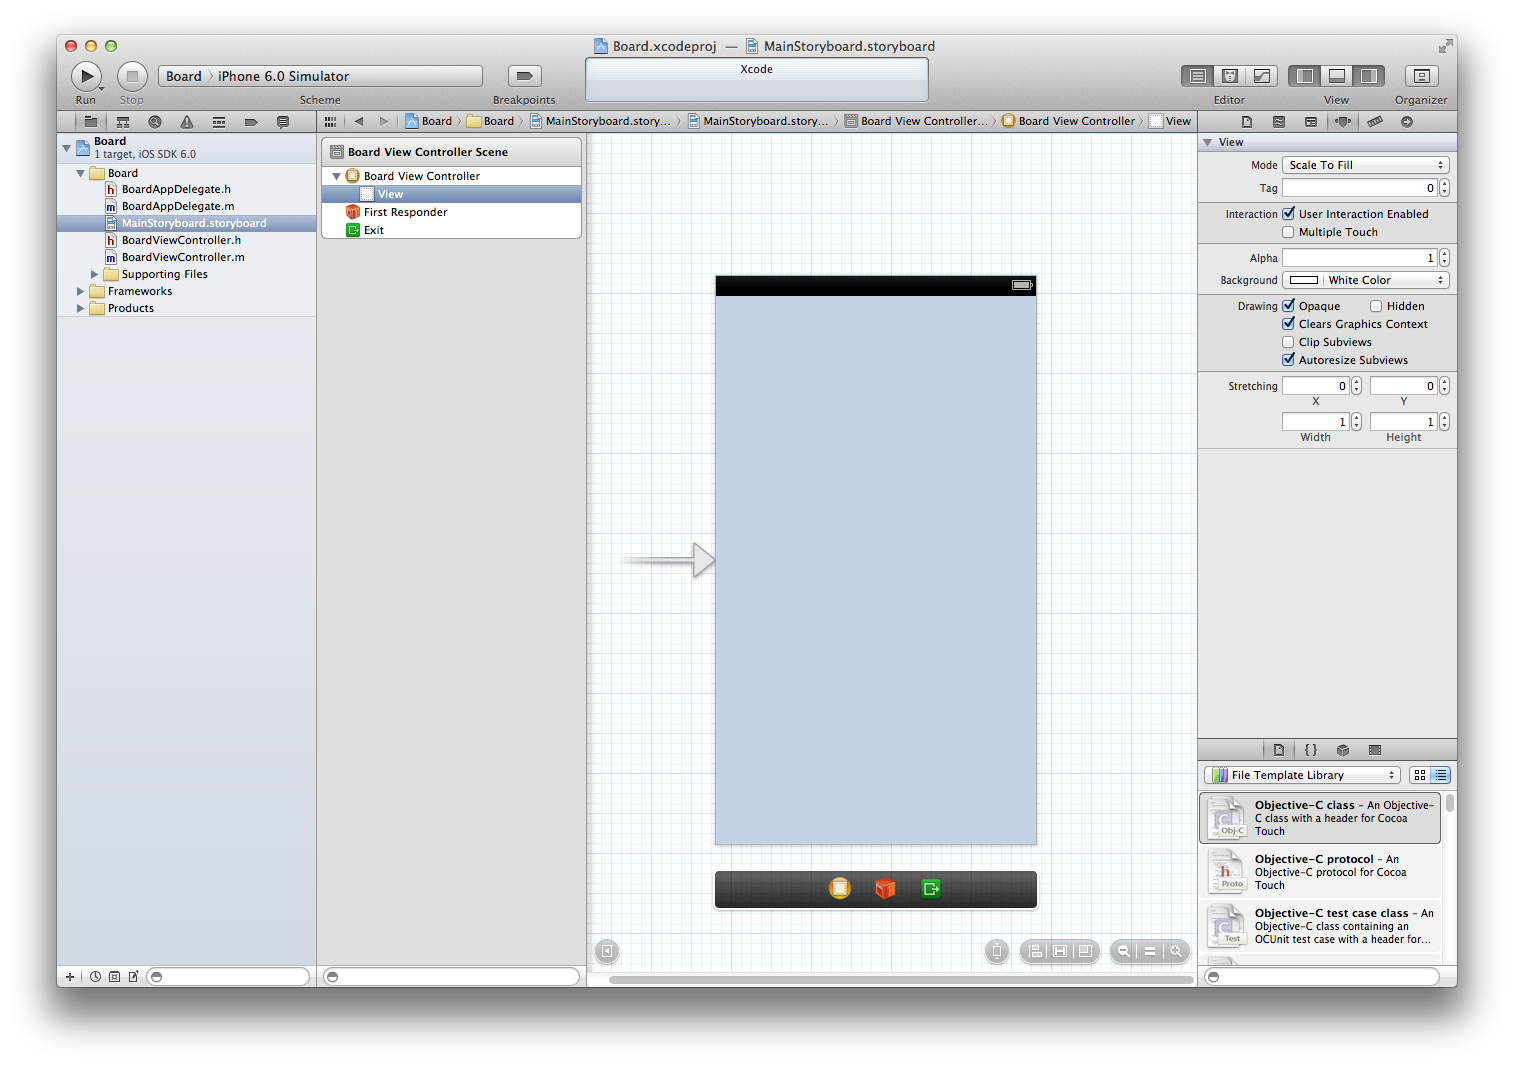
Run the app. You should see a white view that does nothing.
In Xcode’s Project Navigator,
open the
Supporting Files
folder and look in
Board-Info.plist.
Observe that the main storyboard file base name is
MainStoryboard.
In the Project Navigator,
double-click on the file
MainStoryboard.storyboard.
The panel to the right of the navigator is the
outline view.
The outline view should say
Board View Controller Scene
▶Board View Controller
 First Responder
 Exit
Click on the above triangle to see the view controller’s view. Select the view.
The right panel of Xcode is the
Utilities
panel.
If you don’s see it,
or if you’re not sure whether you’re seeing it,
select
View →
Uitilites →
Show Attributes Inspector
At the top of the Utilities, the icon for the Attributes Inspector looks like a pentagonal home plate with two ears. Select this icon. Since we have selected the view controller’s view in Xcode’s outline view, the Attributes Inpector should display the attributes of the view.
Click on the rectange next to the word Background and make the view’s background yellow. Run the app.
Keep the view controller’s view selected in the outline view. In the lower panel of the Utilities area, select the cube icon. In the drop-down menu below the cube, select Controls. Under the drop-down menu, drag the Round Rect Button into the yellow view and release it. You can reposition and resize the button, and double-click on its text to edit it. The Attributes Inspector will let you change the button’s colors.
We will give the view controller a method named
touchUpInside:
and call it when the button is pressed.
(Specifically, when the finger lifts off.)
To save space, hide the Utilities area. There are three buttons labelled View in the upper right corner of Xcode. Press the right button to hide the Utilities.
Show the assistant editor.
There are three buttons labelled Editor in the upper right corner of Xcode.
Press the middle button to show the editor.
(To make the editor go away, you can press the box with the x
in the upper right corner of the editor.)
The assistant editor should display the file
BoardViewController.h.
(You can use the Project Navigator to select the file that the assistant
editor displays.)
Control-drag from the button in the yellow view
to the
@interface
of the
BoardViewController.h
in the assistant editor.
You will see blue lines.
Then release the control-drag to display the following popover.
Fill in the popover.
Connection: Action
Object: Board View Controller
Name: touchUpInside:
Type: id
Event: Touch Up Inside
Arguments: Sender
Connect
The
@interface
section of
BoardViewController.h
should now contain the declaration for a method named
touchUpInside:.
@interface BoardViewController: UIViewController

- (IBAction) touchUpInside: (id) sender;
@end
And the
@implementation
section of
BoardViewController.m
should now contain an empty definition for the method.
- (IBAction) touchUpInside: (id) sender {
}
Insert some code that will verify that the method is called:
- (IBAction) touchUpInside: (id) sender {
	NSLog(@"Button is pressed.");
}
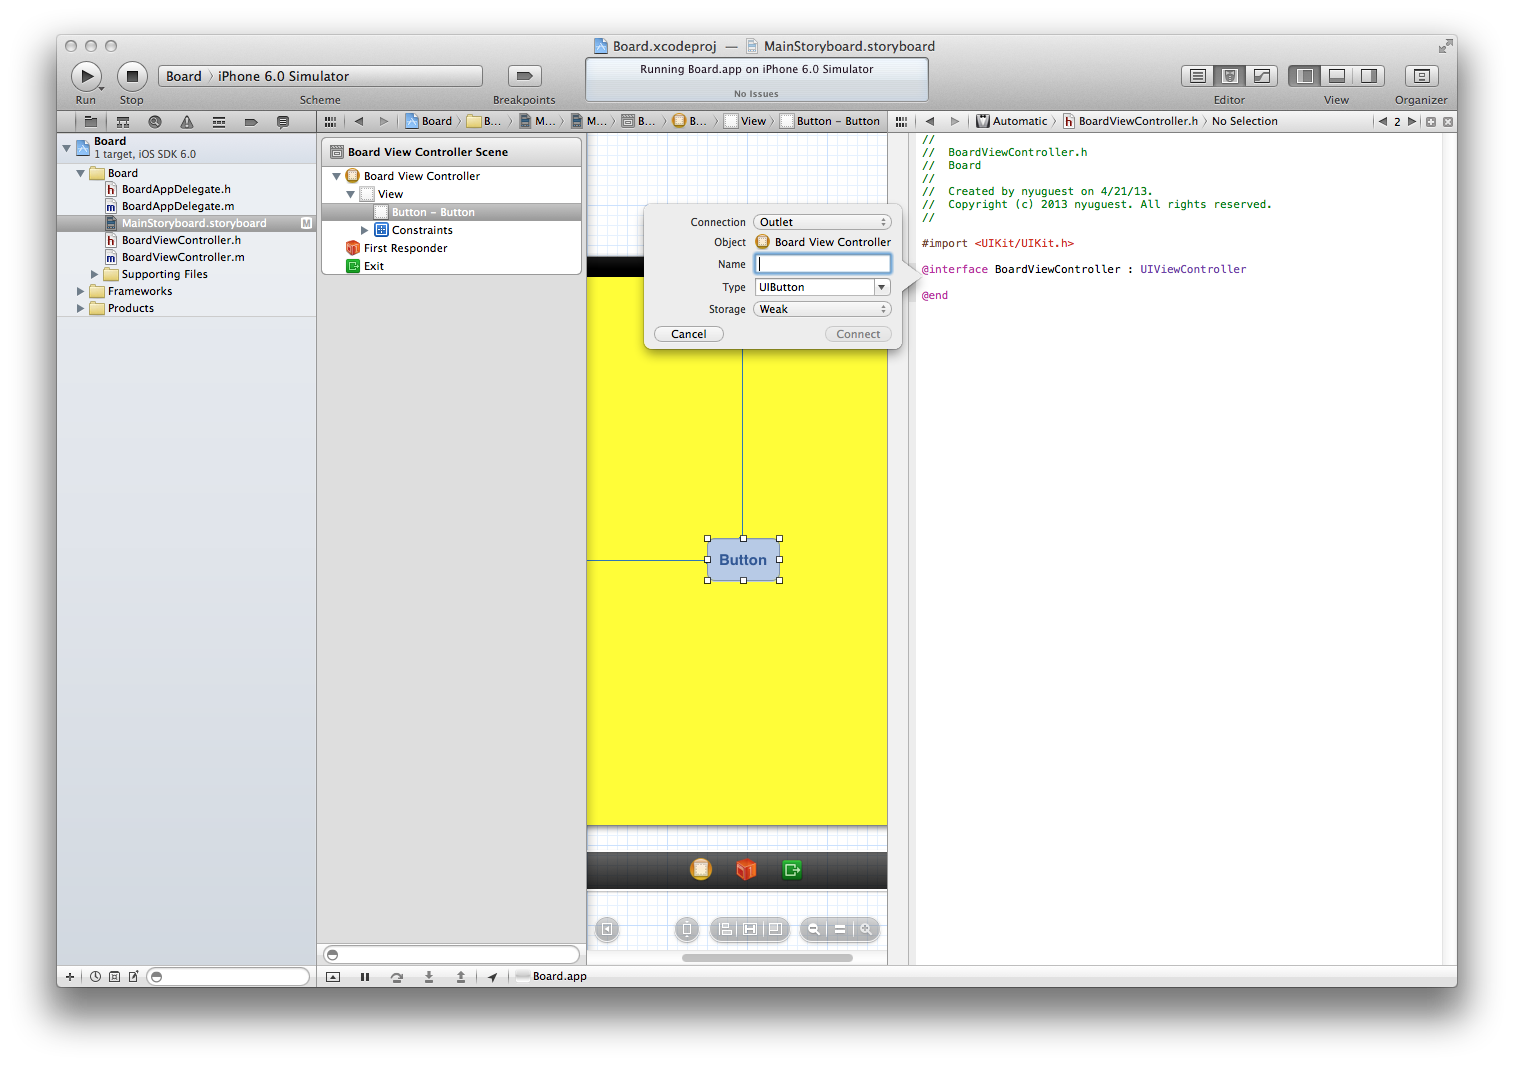
Control-drag from the button in the yellow view
to the
@interface
of the
BoardViewController.h
in the assistant editor.
Release it just above the
@end
when you see “Insert Outlet, Action, or Outlet Collection”.
Fill in the popover.
Connection: Outlet
Object: Board View Controller
Name: button
Type: UIButton
Storage: Weak
Connect
The view controller now has a property named
button
that points to the button.
@property (weak, nonatomic) IBOutlet UIButton *button;
The
TouchUpInside:
method of the view controler has no need to use this property,
since its
sender
argument is pointing to the same button.
But we will use this property anyway,
just to make sure that it points to the button.
- (IBAction) touchUpInside: (id) sender {
	NSLog(@"Button is pressed.  It belongs to class %@.",
		NSStringFromClass(self.button.class));

	[self.button setTitle: @"Veteran Button"
		forState: UIControlStateNormal];
}
Button is pressed. It belongs to class UIRoundedRectButton.